Constructing Your Shower Using Composeal Blue Vinyl Waterproofing Material and Drain
Product to be use:
Pre Pitch kit, Quick Pitch Kit, Kirb Perfect, Quick Clips, Weep Hole Protector, Universal Center ring, Ebbe Square drain
Composeal Blue Vinyl, Composeal Solvent Cement, Pair of Composeal Curb Protectors, Pair of Composeal inside corners
Pre pitch Installations
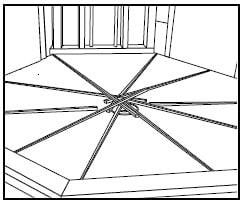
1. Begin Installing Pre-Pitch by first determining if the sub floor is level. If sub-floor is not level, a leveling compound should be used.
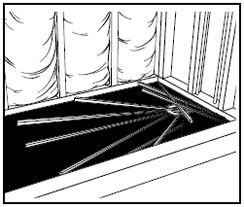
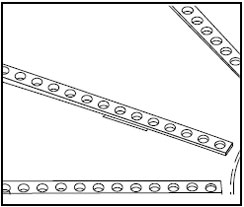
2. Layout how many sticks will be needed to accommodate the floor’s particular shape.
3. Reverse mark each stick that needs to be cut to length. (If the wall is farther than 3 feet from drain, Extended Pre-Pitch sticks are available.)
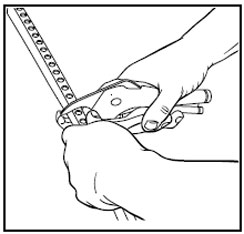
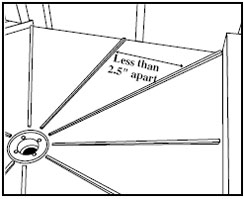
4. Cut with PVC pipe cutters, hacksaw or dry diamond blade grinder. (Stick ends should be spaced less than 2 1/2 feet apart to make screeding easier.)
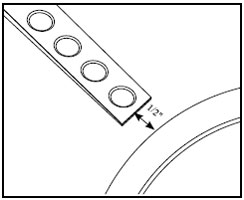
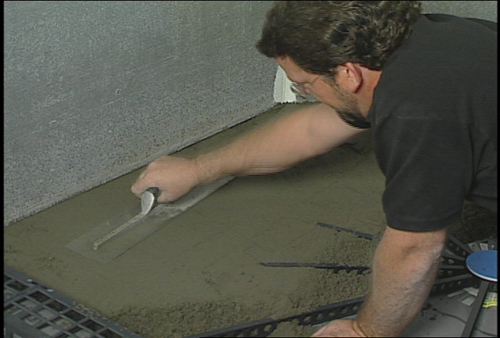
5. The thin end of Pre-Pitch should remain about 1/2 inch back from the edge of the drain’s bottom flange.
This eliminates a step down after the drain’s top flange is attached.
6. On Concrete, use 2-sided tape to hold Pre-Pitch in place while the area is being filled with mud.
On wood sub floor installations use screws or nails to secure Pre-Pitch to the floor. (Be sure the screws or nails are counter sunk so they do not puncture the liner.)
CUT and PLACE PAN
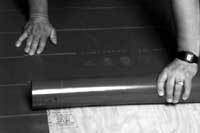
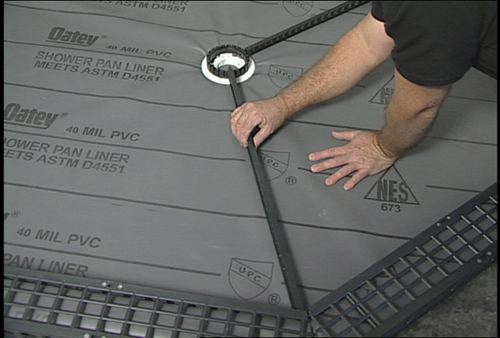
Lay out and cut your Composeal Shower Pan outside the shower stall (see fig. 2).
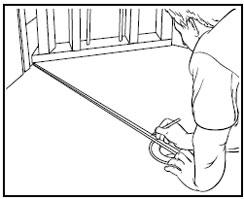
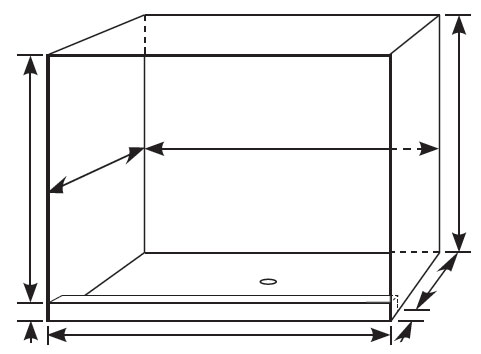
Measure the inside dimensions of the shower floor and add a minimum of nine inches for each wall. Be sure to allow enough material to extend up and over entire shower curb, including the front of the curb.
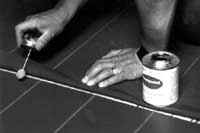
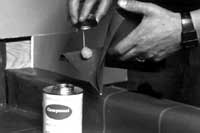
When necessary, seaming is easily accomplished using Composeal Flexible PVC Cement (see fig. 3).
Lay sheets with an overlap of 2″ with upper lap edge toward direction of drainage.
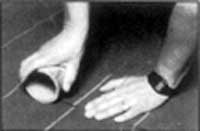
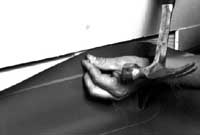
Apply the PVC Cement to both surfaces. Place surfaces together after becoming tacky (about 2 minutes) and press or roll seam (fig. 4).
Carry pan into shower and place against back wall.
Installing the Composeal Vinyl waterproofing
Place top edge of Composeal Vinyl waterproofing membrane at least 3″ above top of shower curb .
Composeal may be fastened directly to wood studs using roofing nails, or to wood or metal studs using screws and washers (see fig. 5). Make sure no penetrations occur less than 2″ above top of dam. Pan is not to be attached to the sloped bed or sub-floor.
If drywall or cement backer board is to be installed over the studs, 1/4″ shims should be attached to the stud faces. This will space the board out to extend straight down and over the pan. If metal lath is to be installed to provide for a mortar installation on the walls, then no shims are needed, the paper and lath simply extend down and over the pan. Remember, no penetrations of fasteners for the pan, board or lath lower than 2″ above the shower curb.
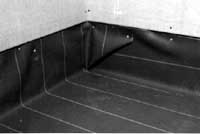
Inside corners should be folded with a “dog ear” preferably tucked behind and nailed at the top edge (see fig. 6)
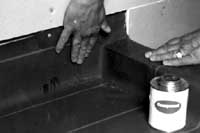
At outside corners and corners which cannot be accommodated by folding, use Composeal’s Pre-Formed 3-way corner/curb protector (see fig 7). This versatile accessory helps to create neat corners in difficult details. Pre-Formed Corners are a must at curb and seat locations. Use seaming procedure discussed above to weld on corners/curb protectors. Corners must be applied in place (see figs. 8 & 9). .
TREAT DRAIN AREA and FLOOD TEST
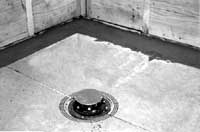
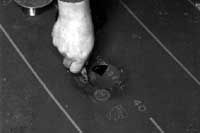
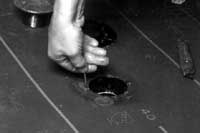
After pan is attached and all corners are secure, carefully locate drain hole, and trim for drain exactly to size of opening (see fig. 10). Do not trim out to bolt holes. Bolt holes should be pierced with a nail or punched to accommodate bolts with a tight fit (see fig. 11).
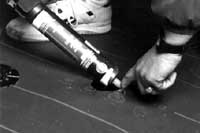
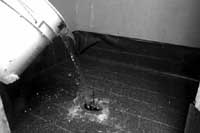
Lift pan to apply an even bead of Compotite Elasti-Seal under pan at bottom flange of drain (see fig. 12). Carefully join the two flanges and firmly bolt them together. Plug drain using a proper test plug and fill to flood level (top of curb) (see fig. 13). Let stand for 24 hours to determine that pan is well installed and undamaged.
1. Continuous blocking at base of studs.
2. Lay out and cut pan to size outside of shower stall
3. Weld both sides of seams with Flexible PVC Cement
4. Roll seams after cement becomes tacky
5. Nail (or screw) pan to studs or blocking
6. Fold corners and nail or screw “dog ear” to stud
7. Preformed corners in three corner/curb configurations
8. Apply Flexible PVC cement to both sides of corner weld
9. Weld Pre-formed corners/curb protectors in place
10. Carefully trim pan to expose drain
11. Pierce bolt holes with nail for tight fit. Do not cut!
12. Apply Elasti-Seal between pan and drain flange
13. Bolt on top half of drain, plug drain, and water test
Installing quick pitch
1. Determine the size and shape of your shower including
the Ebbe Drain and its location.
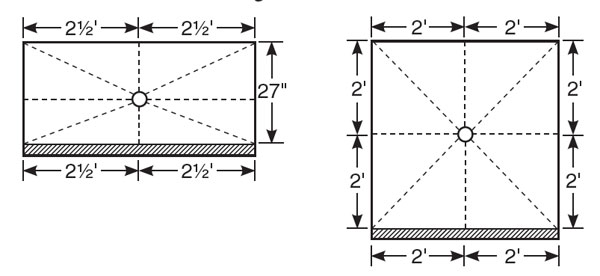
2. With the roughed-in 2 x 4 curb in place, measure the distances from the drain to the walls, curb and corners.
Note: Quick Pitch Extra Float Sticks #XFS-101.2 are 36″ in length. If the distances are greater, Quick Pitch Extended Float Sticks #EXT-103 kits will be required.
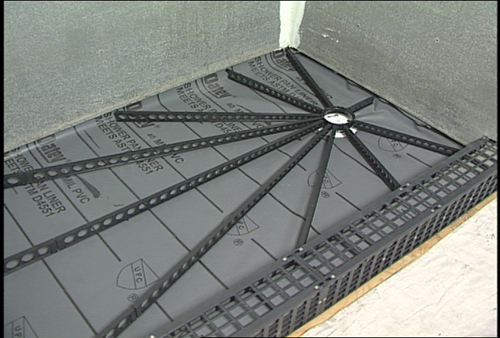
3. Starting in a corner, measure by 2–2 1/2 foot increments around the perimeter of the shower making sure a Float Stick will be positioned in each corner.
Note: The closer the Float Stick ends are to each other, the easier the screeding of the mud mixture will be.
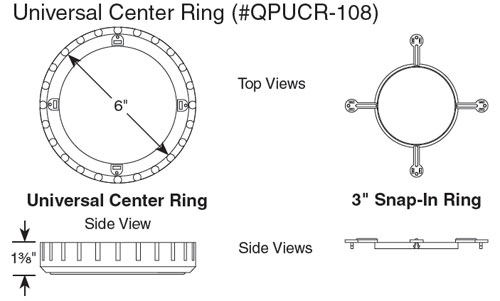
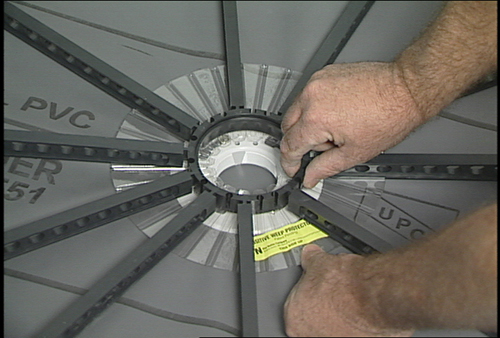
Note: Determine which type of shower drain you will be using. Quick Pitch Kits #QPK-101 come supplied with a center ring designed for standard shower drains to attach the float sticks. If a Ebbe square drain or 3” drain is to be used, the Universal Center Ring (#QPUCR-108) is available.
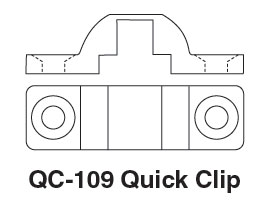
4. After determining how many Float Sticks, both Standard and Extended, are necessary, you will need 2 Quick Clips (#QC-109) for every 36″ run.
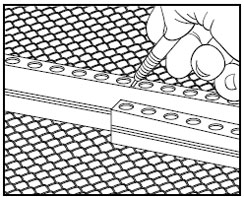
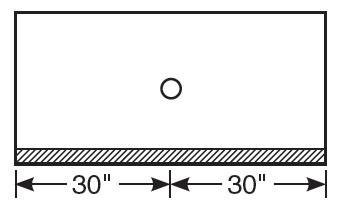
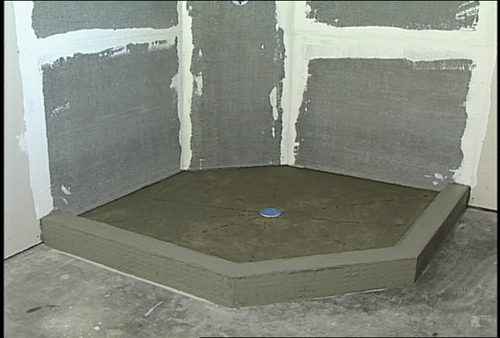
5. To determine the quantity of Kirb Perfect #543 sections needed, measure in 30″ increments. Curb sections are 30″ and have dove tail connectors to attach to one another and will accommodate any length or angles.
6. To figure the liner size (Composeal vinyl Waterproofing), measure the shower compartment length, width and wall height so the liner will go up the walls to the height of the ceiling or to where the tile ends and over the curb. Preformed inside and outside corners are necessary and are available for this material, so be sure to figure all corners.
7. Once you have figured the kits and liner necessary for your Goof Proof Shower, you will need to figure the amount of bedding mud (mixture consist of 1 part Portland cement and 4 parts clean sand) necessary to fill the kits. Using the square footage of your shower floor, multiply by 9.5 lbs. per sq. ft. (i.e. 3 x 5 = 15 sq. ft. x 9.5 lbs. = 143 lbs.). This amount should accommodate all kits.
8. After all materials are gathered you will want to watch the instructional DVD a time or two to gain confidence in the steps necessary to complete you Goof Proof Shower.
Ebbe Square drain Links
Questions & Answers Ebbe Square Drain
– Ebbe Square Drain with Quick Pitch
More links about Quick Pitch System
Watch the Video – Pre Pitch English
Watch the Video – Pre Pitch Espanol
How to Install Pre Pitch System – Quick Pitch with Composeal Vinyl – Quick Pitch Specifications – How to Install Kirb Perfect – StringA Level – How to Install Handi-kirb – Quick Pitch System Estimator – Ebbe Square Drain with Quick Pitch – Quick Pitch with Roll-on or Vinyl





I have been searching for a time for just a reasonable study dealing with this kind of subject matter . Checking out in Aol I now uncovered this website. Reading this post I’m just happy to enunciate that I’ve got a great impression I discovered precisely what I was looking for. For certain i will be sure to don’t forget this blog and go here on a constant basis.
That is very attention-grabbing, You’re an excessively skilled blogger. I’ve joined your feed and sit up for seeking extra of your excellent post. Additionally, I’ve shared your website in my social networks