Satisfaction guaranteed. Call us anytime at 323-731-8453.
October, 2010 | Flooring Supply Shop Blog - Part 3

Flooring advice for your kitchen

kitchen flooring, kitchen tile, kitchen remodeling, diy, ceramic tile, counter tops

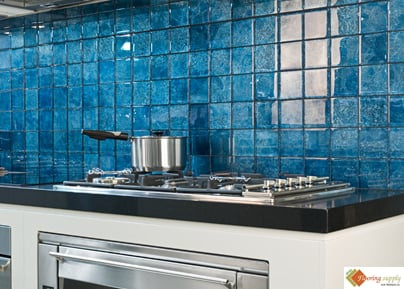
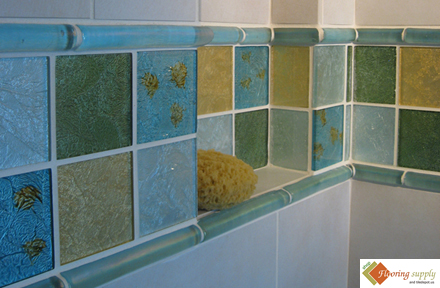
It is generally believed by homeowners that kitchen and bathroom are two of the most important areas for a renovation project. This is so, since these areas are exposed to high moisture content, and the flooring in these areas gets affected by moisture very easily. Some of the factors that can affect your decision to select a flooring option for your kitchen include; your budget, design consideration and your usage of the kitchen.

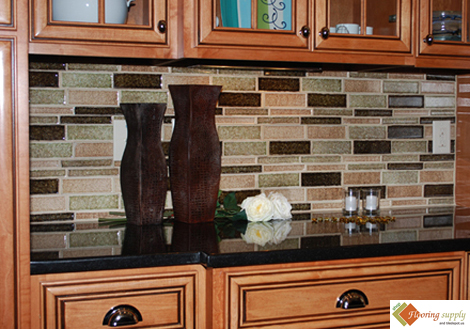
Most people select different flooring for each room in their house. However, selecting common flooring in all the rooms of the house is a popular trend that is becoming popular day by day. So if you are looking to change the flooring of your kitchen, you can select the same flooring as that in the surrounding areas. This continuity will give your house a more comfortable and attractive look. Some flooring options such as stone can be laid in the kitchen as well as other surrounding rooms effectively.

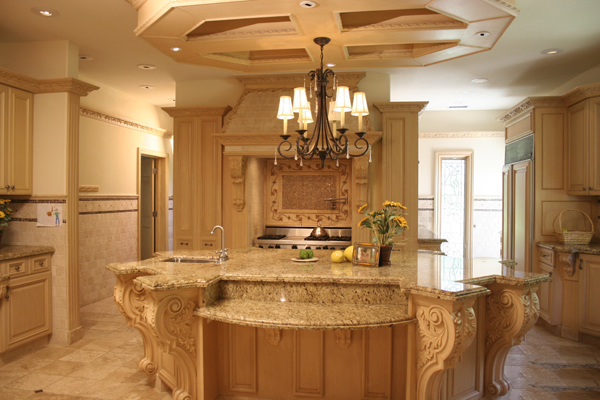
Going green is the latest trend in kitchen flooring. Flooring material such as stone, tile and porcelain would be ideal in your kitchen. Furthermore, wood and wood laminate would also enhance the aesthetic look in your kitchen. However, in case you are opting for wood or laminate, you should select a dark shade and thick grained flooring for maximum utility.

While selecting flooring for your kitchen you should give more emphasis to practicality rather than aesthetics. For example, if you have kids and pets in your house you should opt for a strong and durable option, such as stone. This is so since other material such as hardwood and laminate can scratch easily. Even certain varieties of porcelain, which is considered to be a tough material, can crack and chip easily in the kitchen.

In case you are looking for a low budget option that offers aesthetics, as well as durability, then laminate would be the ideal choice. Laminate would imitate the looks of hardwood flooring, but would offer better durability. Furthermore, the cost of installing laminate flooring is quite reasonable as compared to other flooring options. The low cost and high aesthetics of laminate make it a preferred choice, not just for the kitchen floor, but for floors in other rooms as well.

Talking to a professional flooring contractor is generally a good idea since they would be able to determine the right flooring option for your kitchen. A professional will not only help you determine your flooring requirements but will help you with the purchase process as well. A flooring contractor will ensure that your kitchen flooring offers maximum value for your investment in it.

Kitchen is one of the most actively used locations in a house; therefore, it becomes essential to select the right flooring option. Not only should the flooring match with the decor of your house but should also be easy to maintain and clean. Vinyl, stone and laminate are considered to be ideal options for the kitchen floor. The right floor will go a long way, in the way your kitchen looks

Copyright © 2010 FlooringSupplyShop.com

How to Install Glass Tiles

Glass tiles, mosaic tiles, kitchen Glass Tile, Ceramic tile, Shower Tile, ceramic bathroom tiles

Among the numerous tiles available, homeowners are increasingly choosing glass tiles that add a unique look to their homes. Glass tiles are available in an assortment of colors, sizes, designs, shapes and styles that can easily blend with the decor of any room. In case you are thinking about installing glass tiles, you can choose amongst the various options, such as clear glass, frosted and bubble glass tile. Any of these glass tile options can easily spruce up any room in your home.

Choosing amongst these unique and beautiful tiling options is a daunting task, but once you have made the selection, it is time for installation. Installing glass tiles is not that difficult for experienced DIY enthusiasts; however, amateur DIY enthusiasts may need to be little careful while performing the task. If you are planning to install glass tiles, foremost, ensure that you have all the necessary tools and equipment needed to complete the task.

For installation, first, you need to prepare the substrate; ensure that the surface on which the tiles need to be installed is smooth, flat and without any cracks. The substrate should also be dry as well as perfectly clean so as to effectively apply the adhesive. Next, you need to apply is the thin-set; generally white, acrylic modified thin-set mortar is recommended by experts. It is usually available in pre-mix form, and is thus easy to use. Make sure not to use mastic adhesives, as these tend to become yellow with passing time.

Glass tiles, mosaic tiles, kitchen Glass Tile, Ceramic tile, Shower Tile, ceramic bathroom tiles

For applying the thin-set, you can use the notched side of a 3/16″ V-notch trowel, which is easily available in the market. Hold the tool at an angle of 45° to the substrate for applying the adhesive. Make sure that the thin-set is thick enough to provide a strong grip, but not too thick as it may result in uneven surface, along with irregular spots and shrinkage. In case there are any ridges, you can smoother them with the long flat edge of the trowel, while taking precaution not to remove any thin-set.

Once the thin-set is appropriately applied, its time to install the glass tiles. You can cut the tiles into small pieces as these are easy to install. You can either use a mosaic glass cutter with blades shaped like small wheels or use a wet saw. After getting the desired size, ensure that the tile’s mesh side is clean, dry and free of any dust or debris. Be careful to install the tiles with its mesh side facing the contact surface. To ensure a tight, even bonding with the thin-set, use a wooden block held against the tile sheets and tap on it lightly. Make sure to remove any excess adhesive from the edges. Leave the tiles undisturbed during the curing time, as per the manufacturer’s recommendations.

Glass tiles, mosaic tiles, kitchen Glass Tile, Ceramic tile, Shower Tile, ceramic bathroom tiles

After this, you can grout the joints with the help of rubber grout float, for increased performance and longevity of the glass tiles. It is advised to choose white colored un-sanded grout with a latex additive for fine finish; however, you may also choose other colors for added effect. Last but not the least, add an anti-microbial and mildew inhibitors that will protect the tiles against mold and mildew menace.

Following these simple steps, you can efficiently install the beautiful glass tiles in your home, adding to its aesthetic appeal.

Copyright © 2010 FlooringSupplyShop.com

Tips for effective floor buffing

well maintained hardwood flooring

Like other parts of the house, hardwood flooring also requires maintenance. Over the years, with constant wear & tear the floor starts losing its luster. Though, a lot of people resort to changing the flooring when it starts to wear down; this however is not an advisable option.

One of the most effective ways of dealing with worn out flooring is by buffing it. One can easily use buffing for refinishing the floor, so that it looks as good as new.

Instead of replacing the old hardwood flooring with a new one, most homeowners prefer buffing the flooring, which saves them time as well as money. Using harsh chemicals is not advisable as it will actually harm the floor by either staining it or affecting its natural sheen. Buffing on the other hand is safer and can help keep the fresh look of the floor, as if it was new. Moreover, buffing can be easily done on every type of flooring, whether it is marble or hardwood, with the help of a buffing machine. In case of carpet flooring, one can use the brush attachment instead of pads in the buffing machine; which effectively cleans and scrubs the carpet thoroughly.

It is a process, which can easily be accomplished by DIY enthusiasts. Whatever may be the type of floor you wish to buff; it should first be dust mopped and cleaned thoroughly. Next, you need to install the buffing pad and set the speed of the machine at 1-2 ft. per second. Move the machine in a straight line, overlapping each pass by 2-4 inches. You need to buff the floor till the required gloss is achieved. Similarly, repeat the whole process in other areas of the floor as well. Check the pads, and change them in case they have become dirty or worn out. After buffing is complete, dust mop the floor and follow it by wet vacuuming. Make sure to clean all the equipment, before storage.

Although it is easy, there are certain things that one needs to take care of while buffing the hardwood floor. Replace worn out pads as it can cause scratches on the floor. You need to select the appropriate pad and solution for the type of floor to be buffed. It is advisable that you evenly spread the solution over the particular section of the floor, and buff the area two to three times for best results. While buffing the floor, you must ensure to start from the end of the room, moving backwards, so that you do not step on the cleaned floor.

You will need to apply three different solutions, namely stripping, wax and polish solution. Though using a floor buffing machine is not very difficult; it is advisable to exercise caution since the buffing machine is quite big in size.

Flooring is the most essential part of any house and hence, requires utmost care. By just following some of the simple measures mentioned above, you can have a clean, shiny and durable flooring.

Copyright © 2010 FlooringSupplyShop.com

October, 2010 | Flooring Supply Shop Blog - Part 3