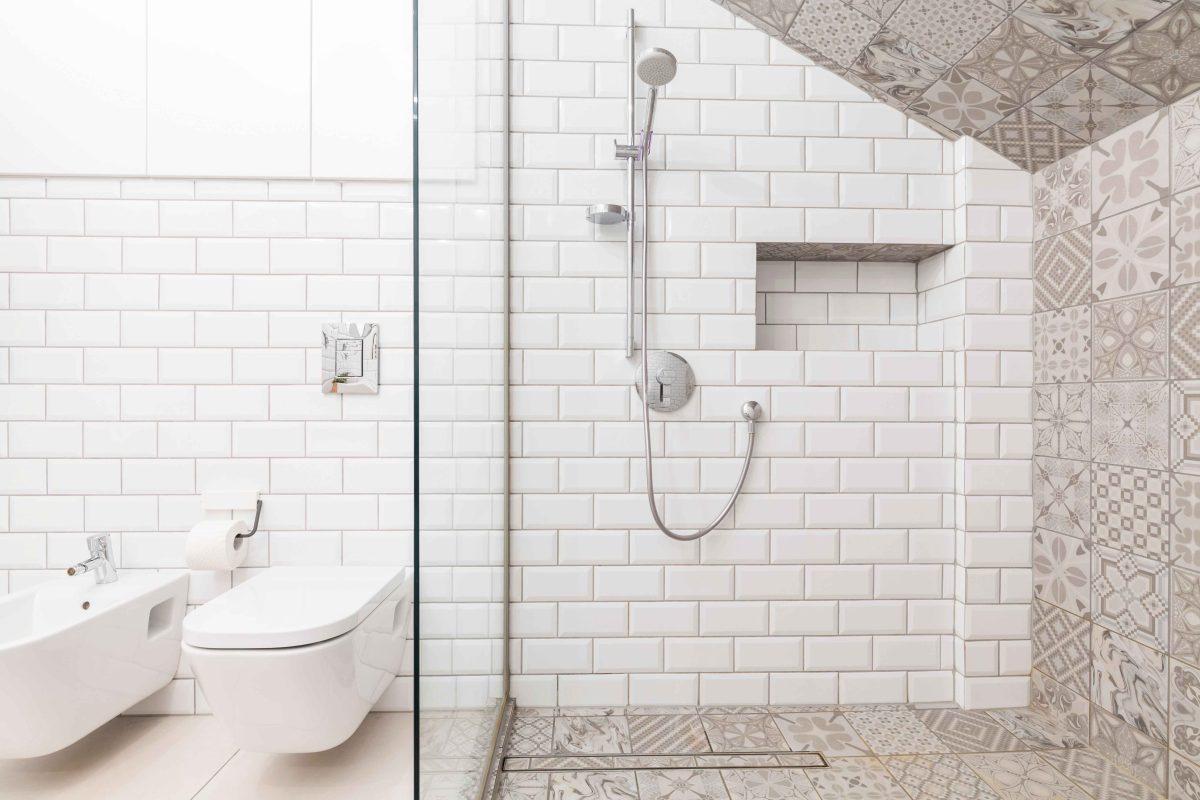
A ready-to-tile shower pan can be a game changer for both professional contractors and DIY enthusiasts. Unlike traditional mortar bed installations, a custom shower pan or tile shower base kit is pre-sloped, waterproof, and ready to accept tile, making the installation faster, cleaner, and more predictable. However, even the best shower pan kits can fail if not installed correctly. Avoiding common mistakes is key to ensuring your shower is both functional and long-lasting.
Below are the top mistakes people make when installing ready-to-tile shower pans — and how to avoid them.
1. Skipping Precise Measurements
One of the biggest benefits of a custom shower pan is that it can be built to fit your exact dimensions. But if your measurements are even slightly off, you may end up with a pan that doesn’t fit snugly, leaving gaps or forcing awkward adjustments.
Mistake: Ordering a tile shower pan kit without double-checking the length, width, and drain location.
Solution: Measure multiple times, taking into account wall finishes, backer board thickness, and any framing adjustments. For unique layouts or non-standard sizes, choose a custom size ready-to-tile shower pan so it fits perfectly from the start.
2. Not Leveling the Subfloor
A pre-sloped shower pan is designed to channel water to the drain, but that only works if it’s installed on a level surface.
Mistake: Placing your DIY shower pan kit on an uneven or unstable subfloor. Even minor dips or high spots can throw off the slope, causing water to pool.
Solution: Before setting the pan, use a long level to check the floor in multiple directions. Shim or sand high/low spots, or use a self-leveling compound if necessary. A perfectly flat and sturdy base ensures the pre-formed slope works as intended.
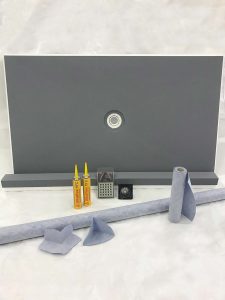
3. Skipping a Proper Waterproofing Layer
Many tile shower pan kits are waterproof by design, but that doesn’t mean you should skip additional protection.
Mistake: Relying solely on the pan material without integrating it into the wall waterproofing system. This can create gaps where water can seep behind the walls.
Solution: Install a high-quality waterproof membrane or backer board on the walls, overlapping and sealing it to the pan’s flange. Follow the manufacturer’s instructions for sealing seams and corners. This creates a continuous waterproof barrier from floor to ceiling.

4. Incorrect Drain Installation
A shower pan’s performance hinges on its drain connection.
Mistake: Misaligning the drain or failing to seal it properly, which can lead to leaks and costly water damage.
Solution: Dry-fit the pan before applying any adhesive to ensure the drain lines up perfectly. Use the correct gasket or sealant recommended by the shower pan kit manufacturer, and tighten fittings to the proper torque without over-tightening.
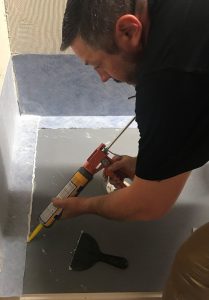
5. Using the Wrong Mortar or Adhesive
Not all mortars or thinsets are suitable for shower pans for tile.
Mistake: Using standard mortar that isn’t designed for wet areas or doesn’t bond well to the pan’s surface.
Solution: Choose a polymer-modified thinset that’s approved for use with your tile shower base kit and tile type. Always follow the curing times before exposing the surface to water.
6. Ignoring the Pre-Slope Concept
Some installers mistakenly think that since a ready-to-tile shower pan is pre-sloped, they can skip checking it after installation.
Mistake: Installing the pan incorrectly so the slope is compromised. Even a slight tilt can cause standing water.
Solution: After placing the pan, check the slope with a level to ensure it directs water to the drain. Make adjustments before the mortar sets.
7. Not Following Manufacturer Instructions
Even experienced installers can fall into the trap of assuming all shower pan kits are the same.
Mistake: Treating all DIY shower pan kits the same, regardless of brand or material.
Solution: Each tile shower pan kit has unique installation requirements—adhesive types, curing times, sealing methods, and more. Following the manufacturer’s guide ensures the warranty remains valid and performance is optimized.
8. Rushing the Tile Installation
Once your shower pans for tile are set, it’s tempting to start tiling immediately.
Mistake: Not allowing the setting material under the pan to fully cure before tiling. This can cause movement that cracks grout or loosens tiles.
Solution: Respect the curing times stated in the instructions—typically 24 hours or more—before laying tile. This ensures the pan is stable and secure.
9. Poor Tile Layout and Cutting
A tile shower base kit looks best when tiles are evenly spaced and neatly cut.
Mistake: Starting the tile pattern without planning, leading to awkward slivers or mismatched grout lines around the drain.
Solution: Dry-lay your tiles to plan the layout, centering the drain in a full tile or evenly spaced cuts. This improves both aesthetics and water flow.
10. Overlooking Expansion Joints and Movement
Bathrooms experience changes in temperature and humidity, which can cause materials to expand and contract.
Mistake: Grouting all edges tightly, leaving no room for movement. This can lead to cracked grout or tiles.
Solution: Leave a small gap where the shower floor meets the walls, and fill it with a flexible silicone caulk instead of grout.

Why Choose a Ready-to-Tile Shower Pan Kit?
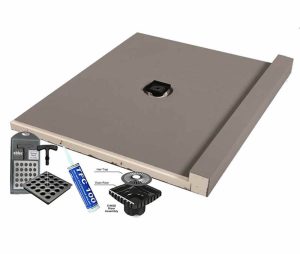
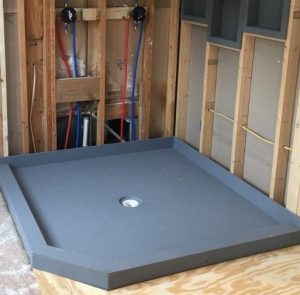
When you select a high-quality ready-to-tile shower pan system like the Custom Size Ready-to-Tile Shower Pan from Flooring Supply Shop, you’re getting a product that simplifies installation without sacrificing durability. These pans are:
- Pre-sloped for efficient drainage
- Molded from high-impact, non-rotting materials
- Lightweight yet sturdy
- Compatible with a wide range of tile types
- Available in standard and custom sizes
For DIY enthusiasts, a DIY shower pan kit removes much of the guesswork from building a shower base. For professionals, it saves time while delivering consistent results.
Final Tips for a Successful Installation
- Plan ahead and gather all tools and materials before starting
- Keep the work area clean and remove excess mortar or adhesive promptly
- Check levels and alignment often during installation
- Allow full curing times before using the shower
By avoiding these common mistakes, your custom shower pan or tile shower pan kit will perform beautifully for years to come. Whether you’re tackling a bathroom remodel as a DIY project or as a professional job, taking the time to install your shower pan kit correctly will ensure a leak-free, attractive, and long-lasting shower.