Satisfaction guaranteed. Call us anytime at 323-731-8453.
Flooring Supply Shop Blog | Flooring and Floor Heating Supply

Top Mistakes to Avoid when Installing Ready-to-Tile Shower Pans

A ready-to-tile shower pan can be a game changer for both professional contractors and DIY enthusiasts. Unlike traditional mortar bed installations, a custom shower pan or tile shower base kit is pre-sloped, waterproof, and ready to accept tile, making the installation faster, cleaner, and more predictable. However, even the best shower pan kits can fail if not installed correctly. Avoiding common mistakes is key to ensuring your shower is both functional and long-lasting.

Below are the top mistakes people make when installing ready-to-tile shower pans — and how to avoid them.
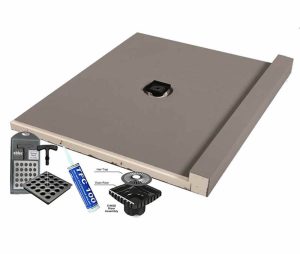
1. Skipping Precise Measurements

One of the biggest benefits of a custom shower pan is that it can be built to fit your exact dimensions. But if your measurements are even slightly off, you may end up with a pan that doesn’t fit snugly, leaving gaps or forcing awkward adjustments.


Mistake: Ordering a tile shower pan kit without double-checking the length, width, and drain location.

Solution: Measure multiple times, taking into account wall finishes, backer board thickness, and any framing adjustments. For unique layouts or non-standard sizes, choose a custom size ready-to-tile shower pan so it fits perfectly from the start.
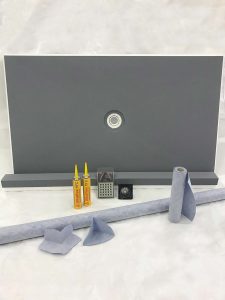
ProPan WPM Ready to Tile Shower Pan kit

2. Not Leveling the Subfloor

A pre-sloped shower pan is designed to channel water to the drain, but that only works if it’s installed on a level surface.


Mistake: Placing your DIY shower pan kit on an uneven or unstable subfloor. Even minor dips or high spots can throw off the slope, causing water to pool.

Solution: Before setting the pan, use a long level to check the floor in multiple directions. Shim or sand high/low spots, or use a self-leveling compound if necessary. A perfectly flat and sturdy base ensures the pre-formed slope works as intended.
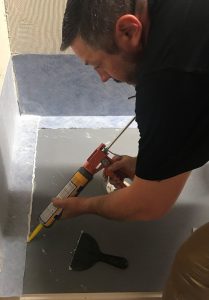
Ready to Tile Shower pan System Floor kit

3. Skipping a Proper Waterproofing Layer

Many tile shower pan kits are waterproof by design, but that doesn’t mean you should skip additional protection.


Mistake: Relying solely on the pan material without integrating it into the wall waterproofing system. This can create gaps where water can seep behind the walls.

Solution: Install a high-quality waterproof membrane or backer board on the walls, overlapping and sealing it to the pan’s flange. Follow the manufacturer’s instructions for sealing seams and corners. This creates a continuous waterproof barrier from floor to ceiling.

Silver Shower Drain

4. Incorrect Drain Installation

A shower pan’s performance hinges on its drain connection.


Mistake: Misaligning the drain or failing to seal it properly, which can lead to leaks and costly water damage.

Solution: Dry-fit the pan before applying any adhesive to ensure the drain lines up perfectly. Use the correct gasket or sealant recommended by the shower pan kit manufacturer, and tighten fittings to the proper torque without over-tightening.
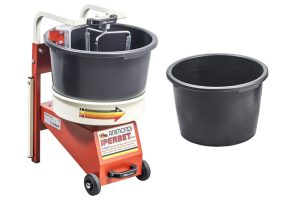
raimondi_mixer_iperbet_mxjpm

5. Using the Wrong Mortar or Adhesive

Not all mortars or thinsets are suitable for shower pans for tile.


Mistake: Using standard mortar that isn’t designed for wet areas or doesn’t bond well to the pan’s surface.

Solution: Choose a polymer-modified thinset that’s approved for use with your tile shower base kit and tile type. Always follow the curing times before exposing the surface to water.
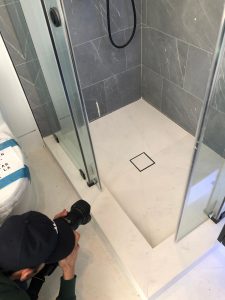
Serene Drains Tile Insert Point

6. Ignoring the Pre-Slope Concept

Some installers mistakenly think that since a ready-to-tile shower pan is pre-sloped, they can skip checking it after installation.


Mistake: Installing the pan incorrectly so the slope is compromised. Even a slight tilt can cause standing water.

Solution: After placing the pan, check the slope with a level to ensure it directs water to the drain. Make adjustments before the mortar sets.
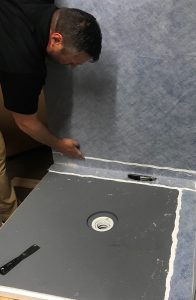
ProPan WPM Ready to Tile Shower Pan kit

7. Not Following Manufacturer Instructions

Even experienced installers can fall into the trap of assuming all shower pan kits are the same.


Mistake: Treating all DIY shower pan kits the same, regardless of brand or material.

Solution: Each tile shower pan kit has unique installation requirements—adhesive types, curing times, sealing methods, and more. Following the manufacturer’s guide ensures the warranty remains valid and performance is optimized.
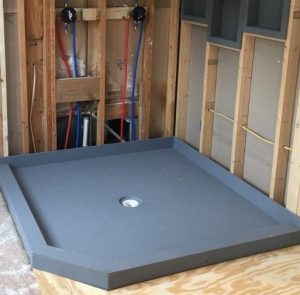
Preformed Custom Shower Pan

8. Rushing the Tile Installation

Once your shower pans for tile are set, it’s tempting to start tiling immediately.


Mistake: Not allowing the setting material under the pan to fully cure before tiling. This can cause movement that cracks grout or loosens tiles.

Solution: Respect the curing times stated in the instructions—typically 24 hours or more—before laying tile. This ensures the pan is stable and secure.


9. Poor Tile Layout and Cutting

A tile shower base kit looks best when tiles are evenly spaced and neatly cut.


Mistake: Starting the tile pattern without planning, leading to awkward slivers or mismatched grout lines around the drain.

Solution: Dry-lay your tiles to plan the layout, centering the drain in a full tile or evenly spaced cuts. This improves both aesthetics and water flow.


10. Overlooking Expansion Joints and Movement

Bathrooms experience changes in temperature and humidity, which can cause materials to expand and contract.


Mistake: Grouting all edges tightly, leaving no room for movement. This can lead to cracked grout or tiles.

Solution: Leave a small gap where the shower floor meets the walls, and fill it with a flexible silicone caulk instead of grout.
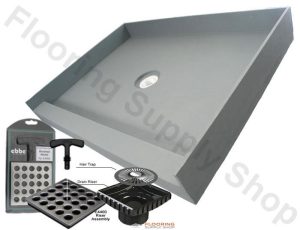
preformed ready to tile shower pan

Why Choose a Ready-to-Tile Shower Pan Kit?

When you select a high-quality ready-to-tile shower pan system like the Custom Size Ready-to-Tile Shower Pan from Flooring Supply Shop, you’re getting a product that simplifies installation without sacrificing durability. These pans are:

  • Pre-sloped for efficient drainage
  • Molded from high-impact, non-rotting materials
  • Lightweight yet sturdy
  • Compatible with a wide range of tile types
  • Available in standard and custom sizes


For DIY enthusiasts, a DIY shower pan kit removes much of the guesswork from building a shower base. For professionals, it saves time while delivering consistent results.


Final Tips for a Successful Installation

  • Plan ahead and gather all tools and materials before starting
  • Keep the work area clean and remove excess mortar or adhesive promptly
  • Check levels and alignment often during installation
  • Allow full curing times before using the shower


By avoiding these common mistakes, your custom shower pan or tile shower pan kit will perform beautifully for years to come. Whether you’re tackling a bathroom remodel as a DIY project or as a professional job, taking the time to install your shower pan kit correctly will ensure a leak-free, attractive, and long-lasting shower.
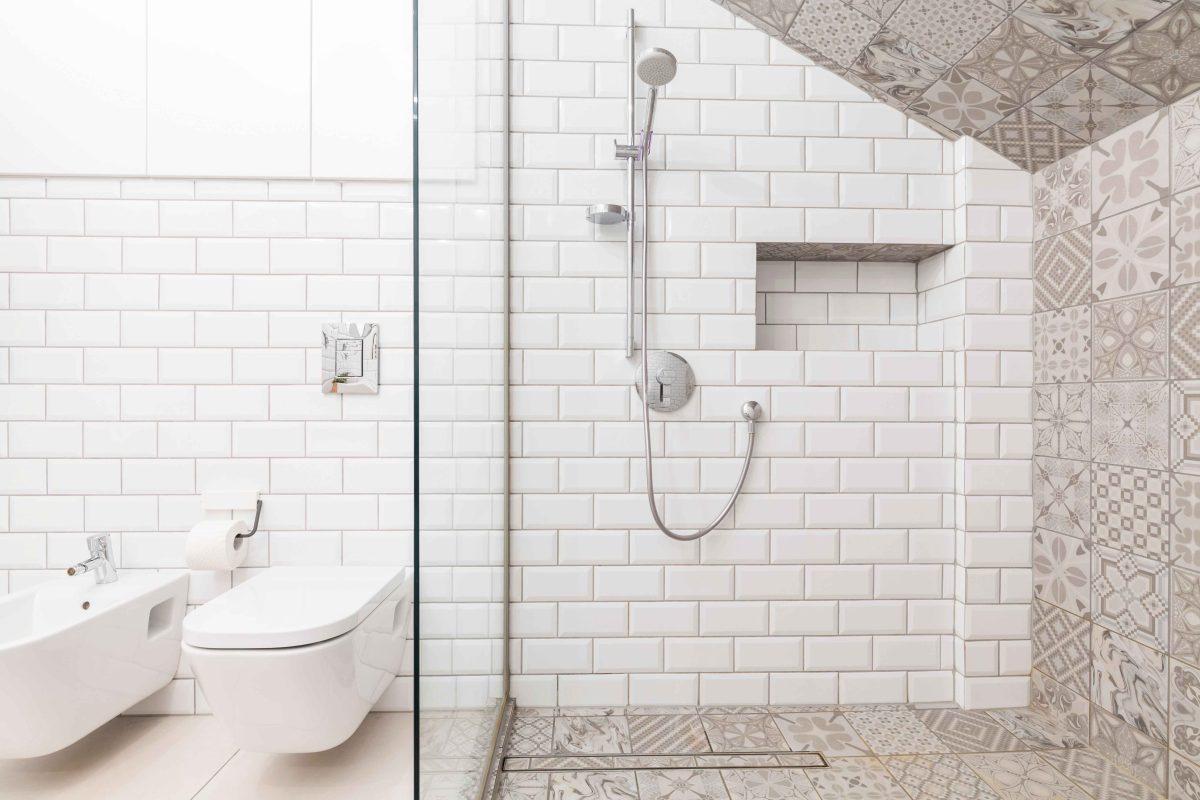
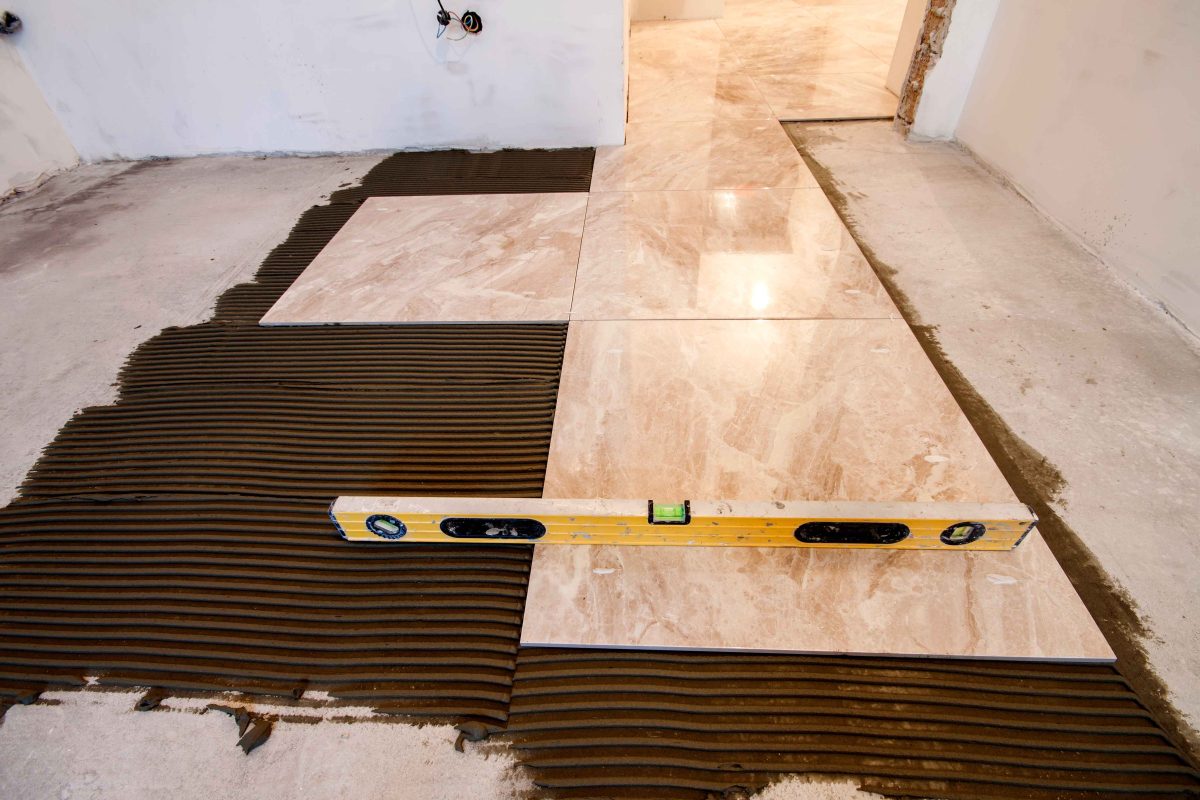
 

Waterproof Flooring Solutions for High-Moisture Areas

Moisture is the natural enemy of most floor coverings. A steamy shower, an overflowing washing machine, or a spilled stockpot can spell trouble for flooring that absorbs water or lets it seep below the surface. Swelling, warping, mold, and stained grout lines all begin the same way—tiny droplets finding their way into vulnerable seams. The good news is that modern building materials offer stylish, budget-friendly ways to keep water at bay. From rigid core luxury vinyl to classic porcelain, today’s waterproof flooring tiles and planks give every room the durability it needs without forcing homeowners to sacrifice looks or comfort.

This guide explains why moisture resistance matters, breaks down the best products on the market, and shows how to choose waterproof flooring for bathrooms, kitchens, laundry rooms, and basements. By the end, you’ll know exactly which surface can stand up to puddles, pet accidents, and humid Canadian winters.

Why Moisture-Resistant Flooring Matters

  1. Structural Integrity – When water seeps through joints or wicks into subfloors, plywood can delaminate, concrete can crack, and adhesives can fail. Over time, that damage threatens the entire structure under your feet.
  2. Indoor Air Quality – Dark, damp gaps encourage mold spores, dust mites, and bacteria. Waterproof materials create a barrier that keeps moisture on the surface, making cleanup quick and preventing long-term health risks.
  3. Maintenance Costs – Replacing warped hardwood or regrouting saturated tile adds up fast. Paying a little more for genuine waterproof flooring tiles often saves thousands in repairs and insurance deductibles.
  4. Resale Value – Real-estate agents consistently highlight waterproof floors in listings for bathrooms and basements because buyers know they’ll avoid moisture-related headaches later.
Best Waterproof Flooring Options for High-Moisture Areas

Waterproof Vinyl Plank and Tile (LVP & LVT)

Rigid core luxury vinyl flooring—sold in both plank (LVP) and tile (LVT) formats—pairs a dense, waterproof core with a scratch-resistant wear layer and click-together edges that lock out liquids. The latest generations use stone-plastic composite (SPC) or wood-plastic composite (WPC) cores, both dimensionally stable in steamy rooms.

  • Pros: Warm underfoot, installs directly over many existing floors, realistic wood or stone visuals, easy DIY.
  • Cons: Needs an expansion gap, can dent under very heavy furniture, not as hard as porcelain.
  • Ideal Spaces: Kids’ bathrooms, rental kitchens, below-grade basements where temperature fluctuates.

Porcelain and Ceramic Tiles

Porcelain earns its reputation as the gold standard for wet zones because it absorbs less than 0.5 % of its weight in water. Dense clays fired at high temperatures create a glass-like body that shrugs off splashes. Glazed ceramic tile performs similarly, though its slightly higher absorption rate makes grout quality more critical.
  • Pros: Nearly impermeable surface, huge style range, excellent heat tolerance for radiant-floor systems.
  • Cons: Cold to bare feet without in-floor heat, grout maintenance, professional installation recommended for large formats.
  • Ideal Spaces: Walk-in showers, spa-style bathrooms, busy mudrooms where boots track in snow.

Stone Flooring (Slate, Granite, and More)

Natural stone offers unmatched beauty and long life. Slate’s cleft texture hides scuffs, while granite’s crystal structure resists stains. Proper sealing is essential because even the densest stone contains microscopic pores, but when maintained, stone handles standing water better than many people expect.

  • Pros: Unique appearance, high resale appeal, cool surface in hot climates.
  • Cons: Higher price, periodic resealing, variable slip resistance.
  • Ideal Spaces: Gourmet kitchens, covered outdoor entryways, upscale basements with wine cellars or home bars.

Children Running on Laminated Floor

Waterproof Laminate Flooring

Traditional laminate has a bad reputation around spills, yet new waterproof versions use tight-locking edges, moisture-repelling coatings, and improved fiberboard cores to survive everyday mishaps. They offer a harder walking surface than vinyl and convincing wood textures at mid-range prices.

  • Pros: Rigid feel underfoot, scratch resistance, familiar plank sizes.
  • Cons: Edges can swell if water sits for hours, cannot be wet-mopped aggressively, warranties require specific underlayment.
  • Ideal Spaces: Powder rooms, pet-friendly dining areas, upper-floor laundry closets where weight is a concern.

Choosing the Right Waterproof Flooring for Each Room

Bathroom

  • Top Choice: Porcelain tile in matte or textured finish for slip resistance. Pair with epoxy grout to lock out moisture.
  • Budget Alternative: SPC luxury vinyl tile with stone visuals; perfect for quick remodels and renters seeking waterproof flooring for bathrooms.
  • Design Tip: Use larger formats on walls and smaller mosaics on shower floors to balance traction and easy cleaning.

Kitchen

  • Top Choice: Rigid core LVP or LVT with a 20 mil wear layer ensures durability against dropped pans. Its click system floats over subfloors without nails, avoiding punctures where water could seep.
  • Premium Upgrade: Honed granite squares sealed with a penetrating sealer provide a chef-worthy stage that handles spaghetti sauce splatters.
  • Maintenance Note: Lay walk-off mats near sinks and dishwashers even with waterproof surfaces to keep grit from scratching.

Laundry/Mudroom

  • Top Choice: Waterproof laminate with beveled edges stands up to detergent spills yet feels solid under laundry baskets.
  • Utility Factor: Add a floor drain if possible; the laminate’s locking design can be lifted and dried after major leaks.
  • Safety Tip: Slate or textured porcelain offers extra grip when wet boots march through.

Basement

  • Top Choice: SPC vinyl plank rated for below-grade installation resists hydrostatic pressure better than wood.
  • Comfort Boost: Install a thermal underlayment designed for vinyl to reduce chill and dampen footfall noise.
  • Alternative Path: Engineered stone composite tiles click together without grout, making future subfloor inspections simple.


Frequently Asked Questions

Q: Are all vinyl floors waterproof?

A: No. Traditional sheet vinyl resists surface spills, but the felt or fiberglass backing can absorb moisture through seams. Look for labels such as “100 % waterproof” or “SPC/WPC core” to ensure full protection, especially when shopping for waterproof flooring for bathrooms.

Q: Can I install waterproof flooring over existing floors?

A: Yes, many click-lock systems float over ceramic tile, hardwood, or even previous vinyl, provided the surface is level, clean, and sound. Always follow the manufacturer’s thickness limits and door-clearance guidelines, and remember that adding underlayment may raise floor height.

Q: How long do waterproof flooring tiles last?

A: Porcelain and natural stone can exceed 50 years with proper care. High-quality rigid core vinyl often carries 15- to 25-year residential wear warranties, while waterproof laminate typically ranges from 10 to 20 years. Longevity depends on traffic, maintenance, and adherence to installation instructions.

Moisture-prone rooms no longer force homeowners to choose between style and performance. Advances in core technology, glazing techniques, and surface coatings mean today’s waterproof flooring tiles and planks can look like century-old barn wood or Italian marble while laughing off puddles. The key is matching each material to its environment: porcelain for perpetual splash zones, rigid core vinyl for flexible living spaces, sealed stone for timeless luxury, and next-gen laminate where impact and scratch resistance matter most. By understanding how water moves through a home—and by investing in products engineered to stop it—you’ll protect subfloors, preserve indoor air quality, and enjoy beautiful floors that last for decades.

What Is Grout?

Grout is a specialized material that fills the joints between tiles and creates a cohesive, uniform surface. Often composed of cement, sand, water, and sometimes additives like epoxy or polymers, grout prevents tiles from shifting and serves as a protective barrier against moisture, dirt, and other debris. In many ways, grout is the unsung hero of tiling projects: while it may not receive as much attention as the tile design, it significantly influences how the finished surface looks and performs over time.

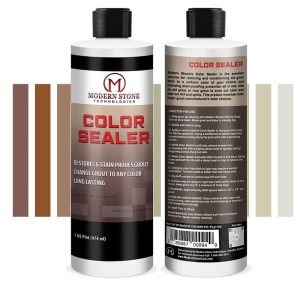
Modern Stone Grout Colorant Sealer C-Cure

Why Grout Matters in Tile Installations

One of the primary reasons grout plays such an essential role is its ability to stabilize tile layouts. By locking tiles in place, grout mitigates the risk of cracked or misaligned surfaces resulting from foot traffic, temperature fluctuations, or minor shifting in the underlying floor or wall. Moreover, grout seals the gaps where water might otherwise penetrate—a particularly critical feature in rooms like bathrooms, kitchens, and laundry areas, where excess moisture can lead to mold, mildew, or even structural damage if left unchecked.

Grout also creates a clean, finished appearance by visually unifying a collection of individual tiles. Whether the tiles are large format, mosaic, ceramic, porcelain, or natural stone, properly applied grout elevates the look of any space. When its color complements the tile or provides an appealing contrast, grout can either blend seamlessly for a minimalist design or draw attention to the layout with bold lines and patterns.

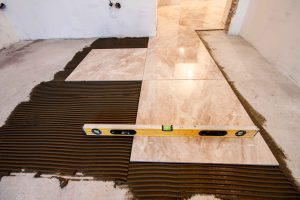
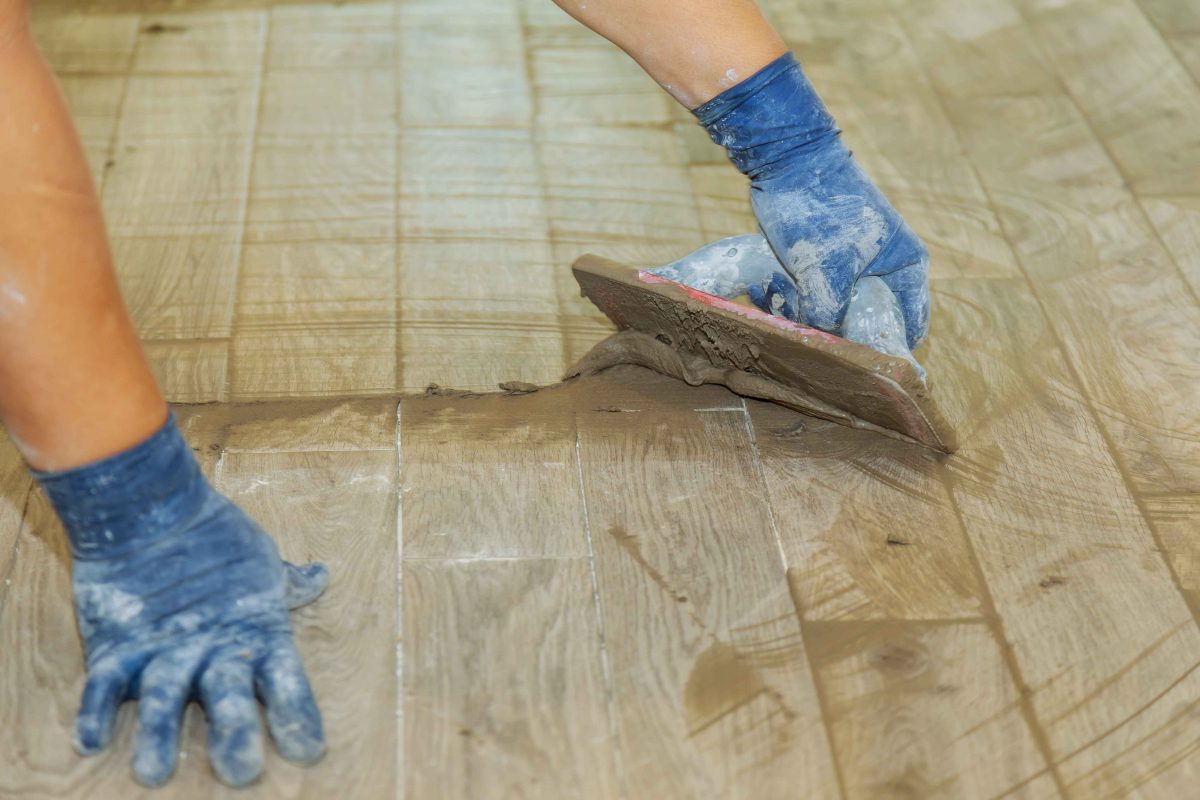
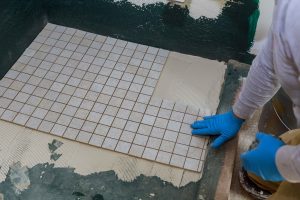
troweling-mortar-a-concrete-floor-in-preparation

Understanding the Main Types of Grout

Grout is not one-size-fits-all. Different formulations exist to address varying challenges, such as joint width, foot traffic, moisture exposure, and chemical resistance. The four common categories are:

  1. Sanded Grout
    • Composition: A blend of cement, sand particles, and water-retaining additives.
    • Ideal Use: Joints typically wider than 1/8 inch. This type is often seen on floors or larger-format wall tiles.
    • Advantages: Sanded grout is generally tough, more affordable, and widely available. The sand content helps reduce shrinkage, which is crucial for maintaining consistent grout lines over time.
    • Drawbacks: The coarse texture can be slightly rough to the touch, and it requires sealing to protect against stains or moisture intrusion.
  2. Unsanded Grout
    • Composition: Cement-based formula without the addition of coarse sand.
    • Ideal Use: Smaller grout lines between 1/16 and 1/8 inch, especially for vertical surfaces like shower walls, backsplashes, or intricate mosaic tiles.
    • Advantages: It creates a smooth, refined look that’s ideal for delicate or polished tile surfaces. It also makes it easier to fill narrow joints without scratching the tile.
    • Drawbacks: Unsanded grout can be more prone to shrinkage, which means it may require additional layers or careful application to ensure even coverage.
  3. Epoxy Grout
    • Composition: A resin-based mixture that typically combines epoxy resins and a separate hardener.
    • Ideal Use: High-traffic areas like kitchens, bathrooms, commercial settings, and spaces prone to stains or heavy moisture.
    • Advantages: Epoxy grout is extremely durable, stain-resistant, and doesn’t require sealing. Many installers praise it for maintaining its color vibrancy over time.
    • Drawbacks: It tends to be more expensive and has a shorter working time before it starts setting. It also demands more skill and speed during installation.
  4. Furan Grout
    • Composition: Formulated with polymers that create a thermosetting reaction, resulting in robust chemical resistance.
    • Ideal Use: Industrial floors, laboratories, commercial kitchens, or areas exposed to strong cleaning agents and harsh conditions.
    • Advantages: Exceptional durability and chemical resistance, making it the go-to choice in certain specialized environments.
    • Drawbacks: Hardly ever found in residential settings due to its complexity and specialized application techniques.

Choosing the Right Grout Color

Selecting a grout color can be just as important as picking the tile itself. A harmonious color that closely matches the tile shade offers a seamless, unified look—a technique often used in modern, minimalist designs. Alternatively, a contrasting color highlights the layout, making each tile stand out as a distinct element. This bold approach is popular in contemporary or eclectic interiors where the geometry of the tile pattern becomes a design feature in its own right.

Additionally, the practical aspect of color choice should not be overlooked. Lighter grouts can brighten a space and make it appear larger but may reveal stains or discoloration more readily. Darker grouts conceal dirt and grime but might show the buildup of soap scum or mineral deposits in wet areas.

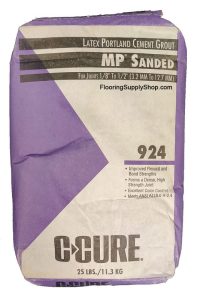
C-Cure Latex-Portland Cement Sanded Grout 25lb

Why and How to Seal Grout

Most cement-based grouts (sanded and unsanded) have a porous surface that can absorb water, dirt, and bacteria over time. Sealing forms a protective layer that repels moisture and common household stains like food splashes or mold. While epoxy grouts are generally non-porous and don’t require sealing, cementitious grouts often need this extra step.

  • Sealer Types: Penetrating sealers soak into the grout, forming a barrier beneath the surface. These are excellent for maintaining the original look without leaving a visible film. Topical sealers, on the other hand, create a protective layer on top, offering a glossy sheen but sometimes altering grout’s texture.
  • Application: Although specific products vary, many sealers are brushed or sprayed directly on the grout lines. It’s essential to wipe away any excess product from the tile surface to avoid a hazy residue.
  • Resealing Frequency: High-traffic or frequently wet areas like showers might need resealing every year or two. Less-used spaces, such as a decorative wall with minimal exposure to humidity or dirt, can go longer between sealing sessions.

Common Grout Issues and How to Address Them

Even when grout is applied skillfully, problems can arise due to wear, environmental factors, or subpar materials.

  1. Cracking
    • Cause: Movement in the substrate, thermal expansion, or structural shifts can place stress on the grout lines.
    • Solution: Small cracks can be repaired with matching grout or flexible sealant. Widespread cracking often indicates a deeper issue such as improper substrate preparation. In this case, regrouting or reinstalling tiles with improved underlayment might be necessary.
  2. Discoloration
    • Cause: Stains from spills, minerals in water, or dirt buildup can alter grout color.
    • Solution: Mild cleaning solutions or steam cleaning can alleviate surface-level discoloration. More stubborn stains might require a grout colorant or an overall regrouting effort.
  3. Mold and Mildew
    • Cause: Damp, poorly ventilated areas (like showers or backsplashes near a sink) can foster bacterial and fungal growth.
    • Solution: Regular cleaning with appropriate solutions and ensuring adequate ventilation can help keep mold at bay. Sealing the grout also reduces moisture penetration, making it harder for mold to take root.
  4. Grout Haze
    • Cause: Residue left behind if grout isn’t thoroughly wiped off the tile surface during installation.
    • Solution: Specialized haze removers or a solution of water and vinegar can help dissolve stubborn residue. Acting quickly is crucial, as dried haze becomes increasingly difficult to remove over time.

DIY Grout Installation Tips

For homeowners who enjoy tackling their own renovation projects, grouting doesn’t have to be daunting if approached with the right tools and preparation.

  • Gather Supplies: A grout float, sponges, a bucket of clean water, protective gloves, and the appropriate grout mix are essential.
  • Follow Mixing Instructions: Consistency matters. Avoid adding too much water, as it can weaken the grout and cause shrinkage or cracking.
  • Work in Small Sections: Apply grout diagonally across tile joints with the float angled to press the mixture in thoroughly. Wipe off excess promptly to minimize haze.
  • Timing Is Everything: Once the grout begins to set, a damp sponge should be used to gently clean the tile surface without pulling grout from the joints.
  • Final Polish: A second or third pass with a cleaner sponge, or even a microfiber cloth, ensures all residue is removed and the tiles shine.

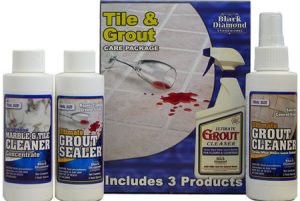
Tile & Grout Care kit

Maintaining Grout Over the Long Term

Good grout maintenance is about consistency and timely intervention.

  1. Regular Cleaning: Gentle cleaners and a soft brush or cloth should be used to remove surface grime. Abrasive brushes can wear away grout, so it’s best to avoid overly aggressive scrubbing.
  2. Control Humidity: In places like bathrooms or laundry rooms, proper ventilation (via exhaust fans or open windows) lowers the chance of mold or mildew growth.
  3. Spot Check and Repair: Addressing small cracks or discoloration quickly prevents them from becoming bigger issues.
  4. Periodic Sealing: If your grout is cement-based, reapply sealer at intervals recommended by the manufacturer to maintain an effective moisture barrier.

While tiling is the most common application, grout appears in various construction and repair tasks. It can be used to fill foundation cracks, anchor posts, or even stabilize masonry structures. Specialized grouts—like high-performance or non-shrink formulations—can play a role in structural projects, emphasizing how versatile grout can be in both residential and industrial settings.

Kitchen Backsplash Ideas

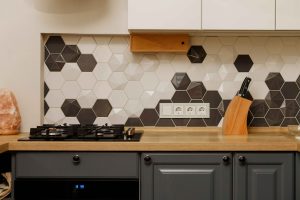
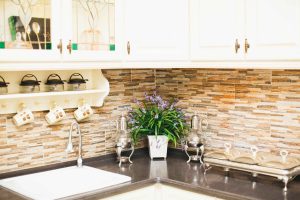
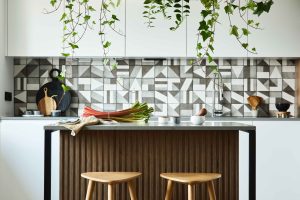
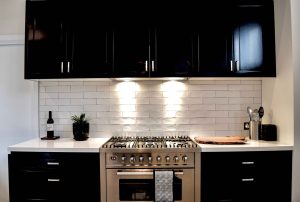
Are you ready to transform your kitchen using our stunning backsplash ideas? From vibrant tiles to sleek mosaic glass, the options are endless when you’re looking to elevate the style and functionality of your kitchen space. Continue reading and jot down your favourite ideas as you explore our variety of design layouts, colours, and materials to find the perfect backsplash to complement your kitchen aesthetic.

countertop-and-lights-in-modern-kitchen-scaled

Countertop and Lights in Modern kitchen

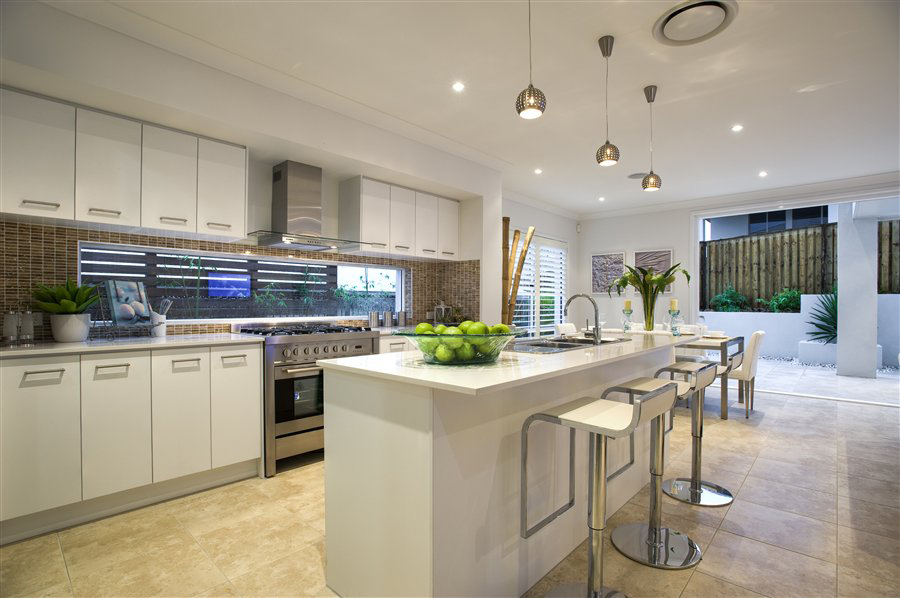
In a modern kitchen, there should be a harmony between countertops and lighting that works together to create a striking focal point. Opting for sleek, durable surfaces like quartz or granite provides both functionality and elegance, while strategically placed lighting—such as under-cabinet LEDs or pendant fixtures—enhances the overall ambiance. This combination not only illuminates kitchen workspaces but also highlights design elements, making it both a practical cooking area and a stylish gathering space for guests.

interior-of-modern-kitchen-with-all-appliances-scaled

Interior of modern kitchen with all appliances

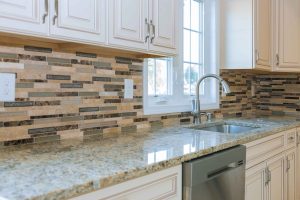
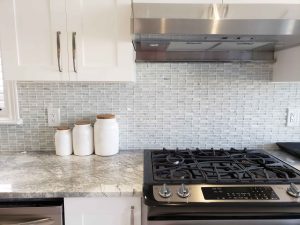
The best way to showcase sleek appliances is by seamlessly integrating them with stylish design elements. Stainless steel refrigerators, dishwashers, and ovens create a finished, polished look, while a statement backsplash adds some personality to an otherwise neutral environment. For example, using mosaic linear glass tiles in classic grey can enhance the space’s contemporary feel. Also, our Dallas border tiles can provide a striking backdrop that elevates the overall aesthetic of your contemporary kitchen, making it functional and visually appealing.

interior-of-a-modern-kitchen-with-a-golden-faucet-scaled

Interior of a modern kitchen with a golden faucet

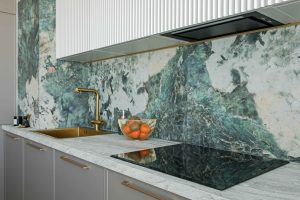
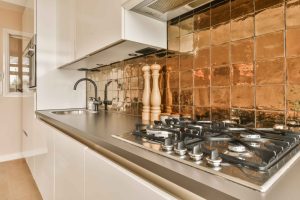
If your kitchen features a golden faucet, it’s clear that your vision extends beyond mere luxury. The gleaming fixture best serves as a stunning focal point, complementing sleek cabinetry and high-end appliances. Paired with a marble or quartz countertop, the golden hue adds warmth and elegance to the space. If you want to showcase a perfect blend of contemporary design and opulence, pair your beautiful golden kitchen faucet with our signature crackle glass porcelain and glass arabesque tile in blue canal finishing.

stylish-oven-design-scaled

Stylish Onyx Glass Mosaics Oven design

Tiles can beautifully accentuate a stylish oven design, transforming it into the most interesting part of your space. Onyx glass mosaics brick shape tiles in an ocean finish create a sleek, modern backdrop while adding a touch of personality. For a bold look, consider using contrasting colours that complement the oven’s finish, whether it’s stainless steel or matte black. This thoughtful tile choice enhances the overall aesthetic, making the oven not just a cooking appliance but a statement piece in the kitchen.

hotel-gym-compact-bar-area-with-stylish-tiles-scaled

Hotel Gym compact bar area with stylish Tiles

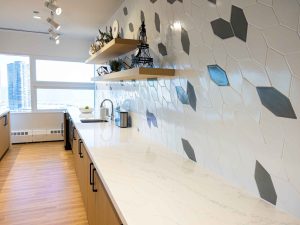
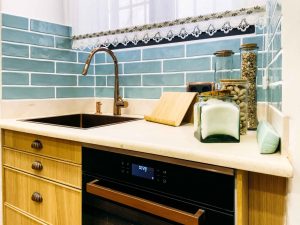
The compact bar area in a hotel gym should feature stylish tiles, like the pele glazed pebbles series blue Hawaiian tile, that enhance its modern design. Sleek, patterned tiles add visual interest while maintaining functionality, which is why this inviting space should offer guests a refreshing spot to unwind post-workout. When you combine aesthetics and practicality, it ensures a seamless transition from fitness to relaxation.

modern-kitchen-design-with-gas-stove-appliance-scaled

Modern Kitchen design with White Ceramic Tile

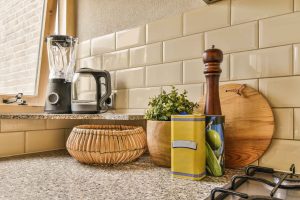
Backsplash tiles play a crucial role in crafting a modern kitchen design, especially when paired with a gas stove appliance. The sleek Alhambra series white ceramic tile in a bold crema finish can enhance the stove’s contemporary aesthetic, while providing a stylish backdrop that ensures easy maintenance and durability, making cooking a pleasure.

induction-hob-with-white-backsplash-scaled

Induction hob with white minimalist backsplash

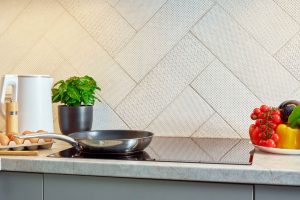
An induction hob paired with a white backsplash creates a clean, minimalist look in the kitchen. The sleek, modern design of the hob contrasts beautifully with the bright, reflective tiles, enhancing the overall space. This combination not only adds sophistication but also makes cooking and cleanup effortless.

stylish-gas-stove-scaled

Stylish Textured Kitchen Backsplash Design with Gas Stove

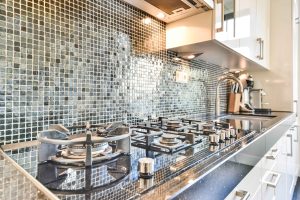
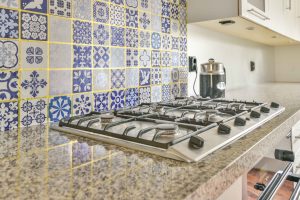
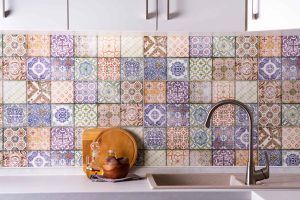
To stylize your gas stove, choose a backsplash that complements its design. Opt for eye-catching tiles, such as colourful mosaics, to create visual interest. A patterned or textured backsplash can add depth, while a glossy finish reflects light, enhancing the overall aesthetic and making the stove a focal point.

cozy-kitchen-zone-scaled

Cozy kitchen zone with Textured minimalist tiles

A well-chosen backsplash can indeed create a cozy kitchen zone. Soft, warm colours or textured tiles invite a sense of warmth and comfort. Pairing earthy tones with rustic or vintage designs fosters a welcoming atmosphere, making the kitchen feel like a homey gathering space.

kitchen-table-top-scaled

Kitchen Table Top

The backsplash and kitchen tabletop work together to enhance the overall design of the space. A harmonious pairing, such as a vibrant backsplash with a complementary wood or stone tabletop, can create a cohesive look. This combination not only adds style but also makes the kitchen functional and inviting for gatherings.

modern-minimalist-kitchen-interior-with-natural-light-scaled

Modern Minimalist Kitchen Interior with Natural light

If you have a modern minimalist kitchen that’s bathed in natural light, consider a sleek, crackle glass porcelain and glass interlock tile in Burano Lace. Its clean lines and subtle texture enhance the airy feel, reflecting light beautifully. Pair it with stainless steel accents for a contemporary touch, or opt for a soft, muted stone for added warmth while maintaining simplicity. Integrating a minimalist grout line further emphasizes the streamlined look, creating a cohesive, serene environment.

grey-kitchen-table-top-with-electric-stove-scaled

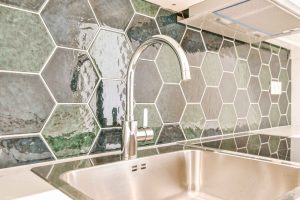
Peppermint Green Hexagon Kitchen Backsplash with Electric stove

For a grey kitchen with a sleek electric stove, consider using our peppermint green hexagon glass tile backsplash. This vibrant blend adds a refreshing contrast against the neutral tones, creating visual interest without overwhelming the space. The hexagonal shape enhances modern aesthetics while reflecting light, brightening the area. Its easy-to-clean surface is practical for daily use, making it a stylish and functional choice that beautifully complements your grey countertop.

new-classic-kitchen-in-modern-style-a-new-ceramic-scaled

New Classic kitchen in Modern style a New Ceramic

For a new classic kitchen with modern flair, the kaleidoscope handmade ceramic tile in cream is an excellent backsplash choice. Its 2×8 size offers a timeless look while adding a contemporary twist. The soft cream color enhances the kitchen’s warmth and brightness, creating an inviting atmosphere. Each handmade tile brings unique character, making your space truly one-of-a-kind. This backsplash not only complements various decor styles but also provides a durable, easy-to-clean surface.

open-plan-kitchen-with-living-room-scaled

Open-plan Kitchen with Living Room

An open-plan kitchen should seamlessly integrate with the living room, creating a spacious, inviting atmosphere where a striking backsplash pulls you in with added visual interest. The overall aesthetic is then complemented with natural light that floods the space through expansive windows, illuminating both areas. To finish off, adding stylish furnishings in the living room will provide comfort, making this layout ideal for family gatherings and entertaining guests.

glass-jars-with-ingredients-on-kitchen-counter-scaled

Glass Jars with ingredients on the Kitchen Counter

Glass jars filled with colourful ingredients on the kitchen counter create a charming, organized display. Each jar showcases grains, spices, or dried herbs, adding both functionality and visual appeal. The transparency allows for easy identification and by grouping jars of varying heights to adds interest, you’ll enhance the modern aesthetic of the space. This arrangement not only keeps essentials within reach but also inspires culinary creativity, making cooking a more enjoyable experience.

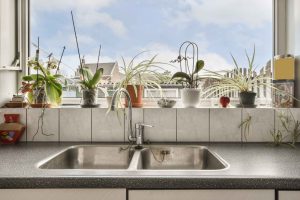
a-kitchen-sink-with-plant-on-the-window-sill-scaled

A Kitchen sink with plants on the window sill

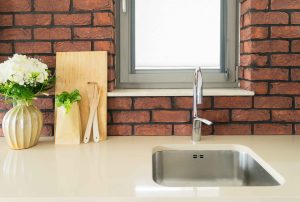
A kitchen sink adorned with vibrant plants on the window sill boasts a refreshing atmosphere. Herbs like basil and mint thrive in this sunny spot, adding fragrance and flavour to your meals. The greenery also contrasts beautifully with the sink’s sleek design, enhancing the kitchen’s natural aesthetic. This arrangement not only brings life to the space but also encourages a connection to fresh, home-cooked ingredients.

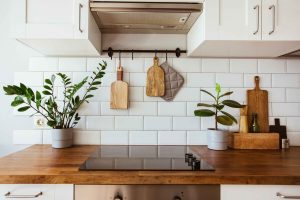
hanging-kitchen-with-white-tiles-wall-and-wood-tab-scaled

Hanging Kitchen with white tiles wall and wood tab

A hanging kitchen featuring a white tile wall paired with a wood tab creates a stunning contrast of textures. The Tahitian pearl mosaic tile adds elegance with its iridescent finish, reflecting light beautifully. This combination enhances the airy feel of the space while providing a chic backdrop for culinary activities. The warm wood tones also add warmth, making the kitchen both stylish and inviting.

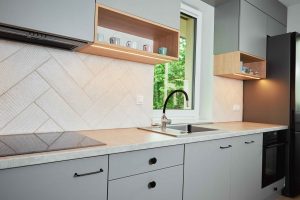
modern-kitchen-interior-with-cabinets-and-empty-scaled

Modern kitchen interior with cabinets

A modern kitchen interior with sleek cabinets embodies minimalist elegance. Smooth, handleless designs create a streamlined look, while a neutral color palette enhances the spacious feel. Open shelving can also add to the practicality and display opportunities, showcasing stylish dishware.

kitchen-table-with-various-accessories-in-the-apartment-scaled

Kitchen table with various accessories in the apartment

A kitchen table adorned with various accessories adds personality to your apartment. Consider placing stylish placemats, decorative bowls, and vibrant centerpieces to create a warm environment where mixing textures—like wood and ceramics—enhances the visual interest of your room.

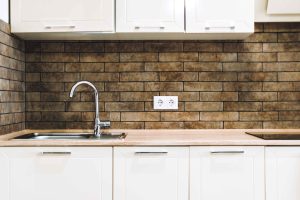
faucet-and-kitchen-faucet-and-countertop-details-scaled

Kitchen faucet and Countertop details

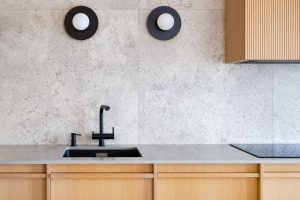
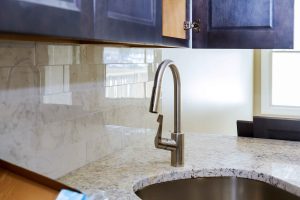
When paired with a sleek countertop, a modern kitchen faucet creates a stunning focal point. The faucet’s polished finish should complement the countertop’s material, whether it’s gleaming quartz or natural stone. With an ergonomic design to ensure ease of use, the countertop’s subtle veining adds further character and functionality to your stylish kitchen.

modern-faucet-in-a-stylish-room-scaled

Modern faucet in a Sleek Tile lines and polished finish

A modern faucet in a stylish room adds a touch of sophistication. Its sleek lines and polished finish should blend seamlessly with contemporary design. This combination of functionality and elegance enhances the overall space, making it both practical and visually appealing.

kitchen-furniture-shelfs-and-accessories-kitchen-scaled

Kitchen furniture shelves and accessories

Kitchen furniture shelves and accessories play a vital role in aesthetics and functionality. Open shelving displays stylish dishware and decorative items, adding character to the space. Additionally, functional accessories, like spice racks and utensil holders, keep essentials organized. A carefully chosen backsplash further complements these elements, enhancing the overall design while providing a cohesive backdrop that ties the kitchen together beautifully.

modern-kitchen-interior-with-hood-with-white-scaled

Modern kitchen interior with hood with white

A modern kitchen interior featuring a sleek white hood creates a bright and airy atmosphere. The minimalist design complements glossy cabinetry and a spacious layout. This elegant focal point also enhances the ventilation of the space, making it ideal for cooking with ease.

kitchen-decoration-scaled

Decorated Kitchen Backsplash

A backsplash serves as a striking kitchen decoration, adding colour and texture to your space. It protects walls from splashes while showcasing personal style. Whether through bold patterns or subtle tones, your chosen backsplash should enhance the overall design, making it a key decorative element.

stylish-kitchen-interior-design-scaled

Stylish kitchen interior design

A stylish kitchen interior design merges aesthetics with functionality, creating a beautiful and practical space. Key elements to consider are sleek cabinetry, modern appliances, and natural light. With unique backsplashes and decorative accessories to add warmth and character, the kitchen will seamlessly become a welcoming hub for your future cooking events.

contemporary-clean-kitchen-with-modern-appliances-scaled

Contemporary clean kitchen with modern appliances

A contemporary clean kitchen will showcase a minimalist aesthetic with sleek cabinetry and streamlined surfaces. Featuring modern appliances, like a smart refrigerator and induction cooktop, it will come together to blend seamlessly into a design that offers advanced functionality.

modern-kitchen-in-dark-tones-with-black-tiled-wall-scaled

Modern kitchen in dark tones with black tiled wall

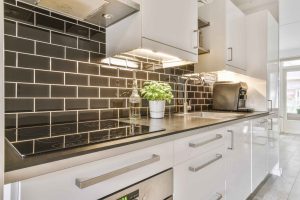
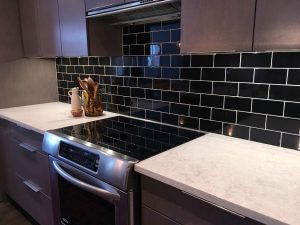
A modern kitchen in dark tones would look best when it features a striking black tiled wall, which is where our mosaic marble penny series comes into play to enhance the space’s sophistication. These glossy tiles reflect light by creating depth and visual interest. Further, they complement sleek cabinetry and metallic accents, making them a perfect backdrop for your dark kitchen display.

shiny-stainless-steel-faucet-with-chrome-water-tap-scaled

Shiny stainless steel faucet with chrome water tap

A shiny stainless steel faucet paired with a chrome water tap adds a sleek, modern touch to any kitchen. Its reflective surface enhances the overall aesthetic while ensuring durability and easy maintenance, making it a stylish and practical choice for everyday use.

a-kitchen-with-a-stove-top-oven-and-a-sink-scaled

A kitchen with a stove top oven and a sink

A kitchen with a stove top oven and a sink is both functional and inviting. The stove top is perfect for quick meals, while the sink offers convenience for food prep and cleanup. With ample counter space to enhance usability, it’s an ideal setting for cooking and entertaining family and friends.

white-kitchen-with-black-countertop-scaled

White kitchen with Black countertop

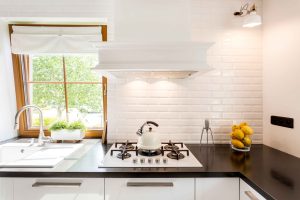
A white kitchen with a striking black countertop exudes timeless elegance. The contrast highlights the sleek design, and with our 3D porcelain tile magnolia backsplash adding texture and visual interest, this combination creates a sophisticated backdrop for enhancing the kitchen’s brightness.

Can You Tile Over Tile?

Are you considering updating your floors or walls without the hassle of removing old tiles? Tiling over existing tile can be a time-saving and cost-effective solution that spares you from the mess and effort of a complete removal. However, this approach requires careful consideration and preparation to ensure a successful and long-lasting result. In this guide, we will thoroughly explore whether tiling over tile is possible, the necessary steps to do so, and the advantages and disadvantages of this method. Whether you’re a DIY enthusiast or considering professional help, this comprehensive guide will provide you with all the information you need to make an informed decision.

Is Tiling Over Tile Possible?

Yes, tiling over tile is possible and can be an efficient way to upgrade your flooring or wall surfaces without the mess of removing old tiles. However, it is crucial to evaluate the condition of the existing tiles and the underlying surface to ensure they are sound and stable.

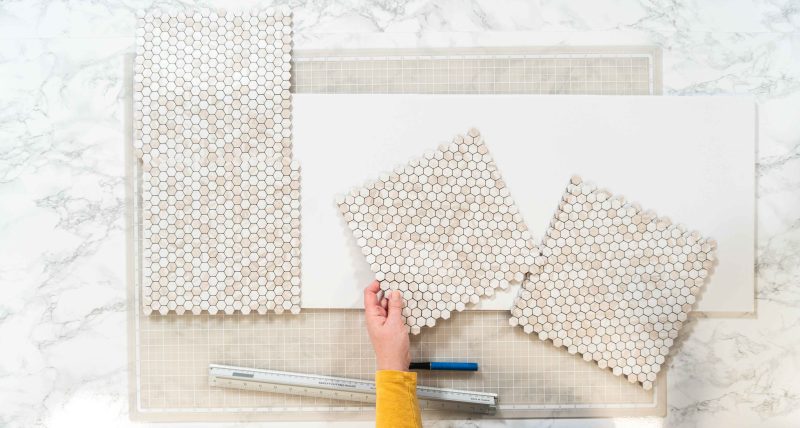
Preparatory work for tiles

Pros and Cons of Tiling Over Tile

Pros:

  • Time-Saving: Eliminates the need to remove old tiles, reducing the project timeline.
  • Less Mess: Avoids the dust and debris associated with tile removal.
  • Cost-Effective: Saves on labor and disposal costs associated with removing old tiles.

Cons:

  • Height Increase: Adds height to the floor or wall, which may affect doors, cabinets, and appliances.
  • Weight Concerns: Adds extra weight, which could be an issue for certain structures.
  • Surface Integrity: Requires that the existing tile and substrate be in excellent condition.

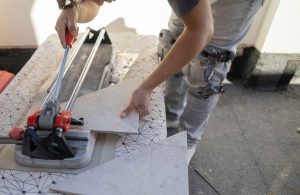
Worker cutting tiles

Steps to Tile Over Tile

Step 1: Assess the Existing Tile
Before beginning, inspect the current tiles to ensure they are well-adhered and in good condition. Check for loose tiles, cracks, or other damage. The existing surface must be smooth and stable to support the new tiles.

Step 2: Prepare the Surface
Clean the existing tiles thoroughly to remove any dirt, grease, or grime. This step is crucial for the adhesive to bond properly. Use a degreaser or a strong cleaner to ensure the surface is completely clean.

Step 3: Apply the Adhesive
Choose a high-quality tile adhesive suitable for tiling over tiles. Apply the adhesive evenly across the surface using a notched trowel. Ensure the adhesive is spread uniformly to avoid any air pockets.

Step 4: Lay the New Tiles
Start laying the new tiles from the center of the surface, working your way outwards. Press each tile firmly into the adhesive, ensuring they are level and properly aligned. Use spacers to maintain even grout lines.

Step 5: Grout and Finish
Allow the adhesive to cure according to the manufacturer’s instructions before applying grout. Once the adhesive is set, apply grout between the tiles using a rubber float. Wipe away excess grout with a damp sponge and allow it to dry. Seal the grout to protect it from stains and moisture.

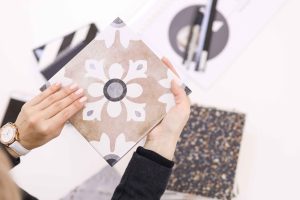
Designer selecting the right tiles design

Tips for a Successful Tile Over Tile Installation

  • Use Thin Tiles: Opt for thin tiles to minimize the increase in height.
    Check for Level: Ensure the existing tiles are level to avoid issues with the new installation.
  • Seal Grout Lines: Seal the grout lines of the existing tiles to prevent moisture from seeping through.
  • Use Quality Adhesive: Invest in a high-quality adhesive designed for tile-over-tile applications.

Frequently Asked Questions

1. Can you tile over tile in a bathroom?
Yes, you can tile over tile in a bathroom, but ensure the existing tiles and substrate are in good condition and the surface is properly prepared.

2. How do I know if my existing tile is suitable for tiling over?
Check for loose tiles, cracks, and the overall integrity of the existing tiles. If they are firmly attached and in good condition, you can tile over them.

3. What type of adhesive should I use for tiling over tile?
Use a high-quality thinset mortar or an adhesive specifically designed for tiling over existing tiles.

4. Will tiling over tile affect the height of my floor?
Yes, tiling over tile will increase the height of your floor, which may require adjustments to doors, cabinets, and appliances.

5. Is tiling over tile a DIY-friendly project?
Tiling over tile can be a DIY project if you have experience with tiling. However, for best results, consider hiring a professional.

Tiling over existing tiles can be a practical and cost-effective way to update your space. If you follow the steps in this guide and carefully assess the condition of the current tiles, you can achieve a beautiful and long-lasting finish. Make sure to use high-quality materials and take your time to ensure a successful installation.

Flooring Supply Shop Blog | Flooring and Floor Heating Supply