Quick Improvement Tips for Increasing Property and Home Value for Resale
Your house is not free from the hazards of everyday life. From my work in Hamptons Real Estate, I’ve seen it all: Water damage, chipping paint, mold, decay, pests and more. And as seasons change from warm to cold and vice versa, many aspects of your home are affected congruently. For those looking to move and/or upgrade, it’s become cumbersome to attempt to make everything more appealing, yet deal with the hassle of finding new real estate.
As you prepare to leave your humble home for a new house you need to spruce up the old place to make it appealing to buyers. What can you do to quickly and affordably improve your home for resale?
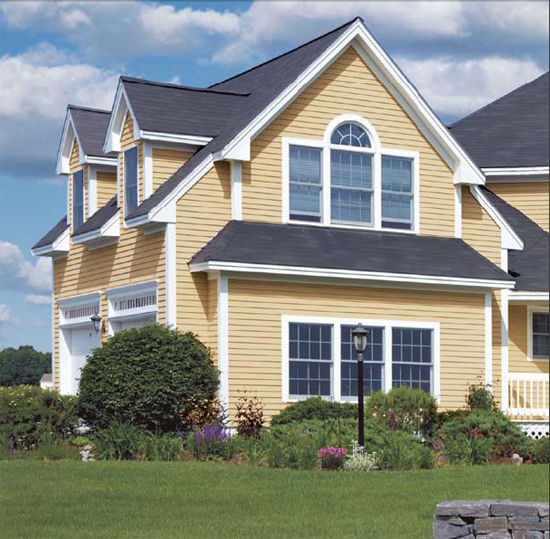
First off, you need to remember that focusing on the outside is just as important as focusing on the inside. First impressions are everything, so if you can impress someone the instant they see the outside, you’ll already have a good start. You may not believe it, but a new coat of paint can do wonders for a home. It’s as if that fresh coat of paint revitalizes the house and really grabs the eye from the outside. Having a freshly cut, healthy lawn can also greatly improve your standing with buyers. If you have the means, landscaping is even better. Some lovely plants, shrubs, trees and even a garden can really liven up your yard and add some personality and color.
A more costly option, but a great one, is a carport. Carports are cheaper to install than garages, but serve the same general purpose. Carports can greatly increase the value of your home as long as the carport is permanently installed.
The interior is the place many sellers dread to fix up for resale. Many homeowners can walk through their house and list off everything they either need or want to do to whatever room they see. Fixing up the interior of your home doesn’t need to be a nightmare. It just requires some cleaning and some key improvements.
To start off, we’ll go back to an old favorite. Painting the interior of your home can have just as big of an impact as it does on the outside. It makes every room seem fresh and new and appeals very well to new buyers.
Another very simple trick is to replace all your old wall outlets. If the old ones are two-prong, buy three-prong outlets, and try to gather a handful that will match the style of your current wallpaper and/or paint. You can always buy regular wood grain and paint them later on! When you’re doing a walk through with a potential buyer, you can point this out.
If you have carpet that is old, stained, torn or worn out, consider getting new carpeting. Remember, though, if you do decide to get new carpets get them after you have painted and the paint has dried. There is no point in getting new carpeting if it’s only going to get marred by paint stains.
As for any tiled or hardwood floors, if the tiling is dingy, stained, or discolored, you should also consider replacing that as well. Where carpeting might have to be installed by professionals, tiling can be done on your own. If you don’t feel comfortable doing any of the cutting or measurements, you may need to call professionals. As for hardwood floors, you’re probably better off giving them a good cleaning instead of trying to replace them.
You’d be amazed what some cleaning, a good coat of paint and some elbow grease can do for the resale value of your home. Remember that you’re not only fixing up your home to sell it, you’re fixing it up so someone else can enjoy your home just as much as you have.
Article provided by Hamptons Real Estate
Copyright © 2010 FlooringSupplyShop.com


