Assembly Instructions for Teak Bench
Assembly Instructions:
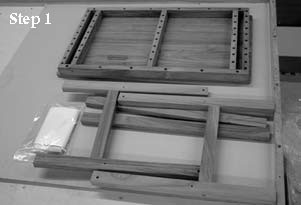
Step 1:
Turn bench top upside down on a flat surface with cardboard underneath to prevent any scratching of the surface.
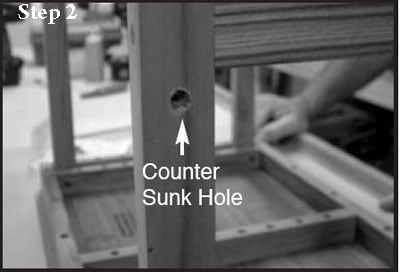
Step 2:
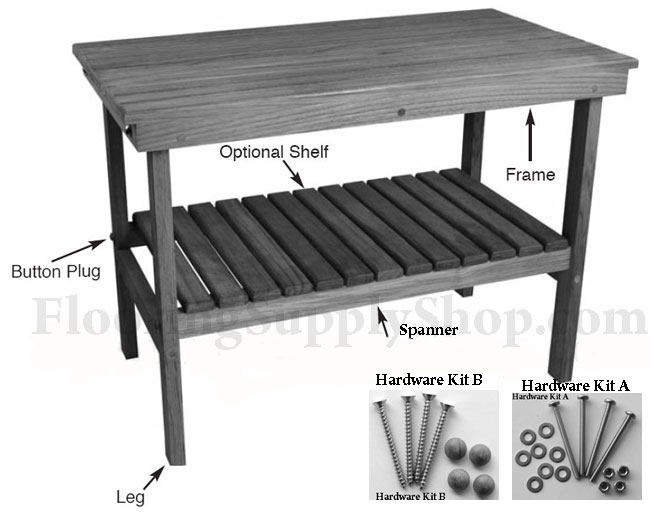
Use provided hardware kit A to connect the legs to the bench top. Install each leg into the frame with the rubber footing facing away from the frame and the counter sunk holes facing out.
Step 3:
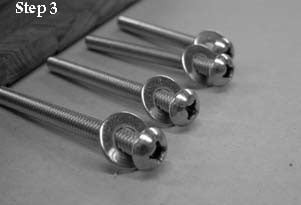
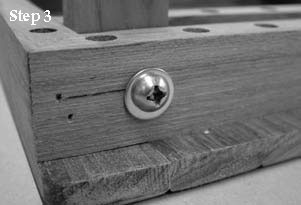
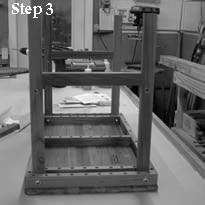
Place one washer on each of the 3″ bolts. Next install bolts through the holes in the frame. Make sure the bolts go through the frame, legs and the back of the frame with the Phillips head screw facing out and the threads facing towards the inside of the frame.
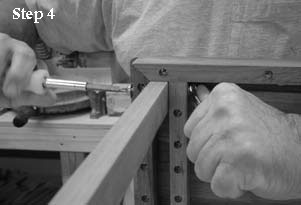
Step 4:
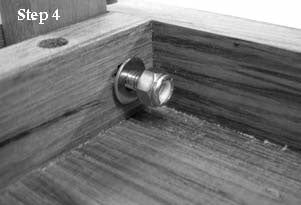
Place another washer on the bolt where the threads are exposed to the inside of the frame. Place the flat end of the lock nut at the end of the bolt and tighten. ( Lock nuts have a nylon washer installed to keep the nut secure and some tightening is required). Use a 7/16″ open end box wrench to tighten the lock nut, while holding the screw in place with a Phillips head screwdriver. The lock nut should be secured against the frame.
NOTE: Once the legs are bolted to the frame the bench will wobble and is unstable: Install center spanners to strengthen the bench. See Step 5 for spanner installation.
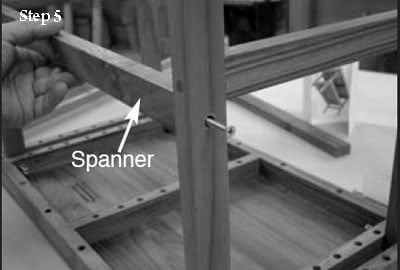
Step 5:
Use screws from hardware kit B to install center spanners. Install 2″ screws into countersunk holes. Thread the screw through the leg so that it sticks out just past the leg. Take the spanner and line the screw up with pre-drilled holes in center spanner and tighten with a Phillips head screwdriver.
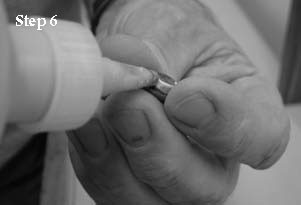
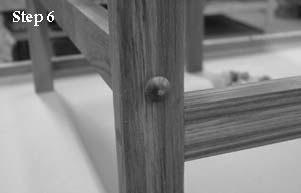
Step 6:
Install Teak button plugs into screw holes to hide the exposed screws. A small amount of glue or a light tap with a hammer may be required to secure button plugs.
NOTE: Models that have a shelf: To install the shelf, have the bench assembled and place shelf between the spanners. Note: The spanners must be square for the shelf to fit. The shelf fits tightly between the spanners.
CAUTION: Use only hand tools to assemble your bench. DO NOT use power tools; this may cause damage
Copyright © 2012 FlooringSupplyShop.com
I might purchase your 28″ bench or my bathroom, but I want to know the height/distance between the removable shelf and the bench top. I want to place some baskets on the shelf with toiletries, so I need to know how much room the shelf provides. Thank you.
I love this, but with it came in colors. Or at least black and white…even as shown in instruction model. I love that and it would be perfect for my bathroom. Perfect dimensions!!!