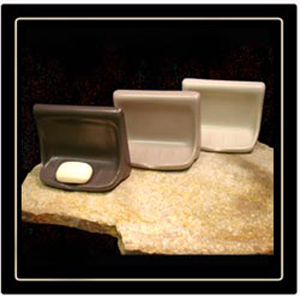
Installation of a Stone Soap Dish with tile surrounding

The first thing you want to do is find a good placement on the wall for your Soap Dish It is a good idea to stand inside the shower to determine best placement for your soap dish.
Once you have picked a good spot, hold the Soap dish in place on the wall and use a pencil to draw a line across the bottom of the ceramic recess. This is the part that will stick into the wall once the holder is installed.
Install your tile of choice up the wall to the earlier mark that you made for your Soap dish holder.
Next, apply mortar around the holes at the back. This will give the thinset a mushroom effect when it dries.
Push the soap dish into the wall and hold it in place for two minutes.
Wipe any extra thinset from around the seams with your finger. Use a damp sponge to clean all of the wet mortar from the stone Soap dish holder. It is very important that you remove all mess from the mortar before it dries. When everything is clean, use masking tape to keep the soap dish in place during the drying process. In about 12-24 hours you will be ready to use your new Soap dish holder.

Fantastic. I would say don’t spray paint them. They look great with the light-colored.
I think other website owners should take this site as an model – very clean and wonderful style and design, not to mention the content. You are an expert in this area!