Satisfaction guaranteed. Call us anytime at 323-731-8453.
Flooring Supply Shop Blog | Flooring and Floor Heating Supply - Part 2

How to Clean Porcelain Tile Floors

Tile Flooring

Porcelain tile floors are a testament to beauty, sophistication, and practicality, a perfect amalgamation of elegance with robustness. They grace your homes and offices with their ethereal presence, promising longevity and durability that few other flooring options offer. However, these flooring marvels require a dedicated cleaning regimen tailored to their unique attributes to retain their pristine condition and ensure their longevity. Understanding the correct cleaning methods for different types of porcelain tiles—whether polished or unpolished—is fundamental to maintaining their charming aesthetics and structural integrity. This article provides you with an in-depth guide to effectively cleaning solution, keeping them as gleaming and inviting as the day they were laid.

Know Your Porcelain Tiles

Before you begin cleaning, it’s essential to know what kind of porcelain tiles you have. There are primarily two types: unglazed and glazed. Unglazed porcelain tiles have a natural, matte finish, while glazed porcelain tiles feature a glossy protective layer. The cleaning techniques for both types slightly differ, so identification is the first step toward proper maintenance.

Cleaning Supplies

To clean porcelain tile floors, you’ll need a few basic items:

  1. Mild Detergent or Porcelain Tile Cleaner: Mild detergents are suitable for cleaning porcelain tiles because they effectively remove dirt without damaging the tile’s surface. Porcelain-specific cleaners are available in the market and are specially formulated to care for this type of flooring. They’re designed to preserve the tile’s integrity, prevent discoloration, and maintain its shine. If you decide to use a commercially-prepared porcelain tile cleaner, always follow the manufacturer’s instructions for use.
  2. Soft-bristle Broom or Vacuum Cleaner: Loose dust, dirt, and grit on your tile floors can act like sandpaper, causing scratches and wear over time. Regularly sweeping or vacuuming your floors is essential to maintaining their beauty. A soft-bristle broom will ensure that you can sweep away the dirt without scratching the surface of the tiles. On the other hand, a vacuum cleaner, especially one with a ‘hard floor’ setting, can be an excellent tool for removing dust and dirt from corners and crevices that a broom might miss.
  3. Microfiber Mop or Cloth: A microfiber mop or cloth is highly recommended for cleaning porcelain tiles. These are soft, super absorbent, and effective at trapping dirt, debris, and bacteria. Unlike traditional mops or cloth materials, Microfiber won’t scratch the surface of your tiles. Moreover, their high absorbency ensures that they don’t leave excess water on your floors, which could otherwise lead to water spots or damage.
  4. Warm Water: Warm water enhances the effectiveness of the cleaning solution, helping to dissolve dirt and grime faster than cold water. It also helps in even spreading and easy rinsing of the detergent or cleaner.
  5. Soft, Dry Towel: A soft, dry towel is crucial for drying your floors after washing them. Excess water can seep into the grout lines, leading to mold or mildew growth, or cause water spots on the tiles. Additionally, quick drying prevents the risk of slipping on the wet floor.


Remember, you should always avoid harsh or abrasive cleaners when cleaning porcelain tiles. These can cause damage to the tile surface, leading to dullness and scratches over time. Steel wool or harsh scrubbing tools can similarly damage the tiles and should be avoided. Also, always choose a cleaner that is pH-neutral. Acidic or alkaline cleaners can discolor the tiles and degrade the grout. A pH-neutral cleaner is gentle yet effective and maintains the color and integrity of your porcelain tiles.

Regular Cleaning Routine

  1. Sweep or Vacuum: The first step in your cleaning routine should be to remove loose dust and dirt. Use a soft-bristle broom or a vacuum cleaner to gently remove any debris from your floor. Be sure to reach into the corners and along baseboards where dust tends to accumulate.
  2. Mop the Floor: Fill a bucket with warm water and add a mild detergent or a special porcelain tile cleaner as per the instructions on the product label. Dampen your microfiber mop or cloth in the solution and wring out excess water. Mop your porcelain tile floor thoroughly, ensuring no soapy residue is left behind.
  3. Rinse Well: After mopping the floor with the cleaning solution, rinse the mop with clean water. Mop the floor again with clean water to remove all soap from the tiles. Excess soap can leave behind a dull film that detracts from the natural beauty of the porcelain.
  4. Dry the Floor: After rinsing, it’s crucial to dry your floor properly to avoid water spots or streaks. Use a soft towel or a microfiber cloth to dry the floor. Ensure that the floor is completely dry to prevent any slips or falls.

Dealing With Stains

Occasionally, you may notice stains or spots on your porcelain tiles. In such cases, a spot treatment may be necessary. Apply a small amount of your cleaning solution directly onto the stain and let it sit for about 10 minutes, then scrub gently with a soft brush or cloth. Rinse the area thoroughly with warm water and dry with a towel.

Cleaning Polished Porcelain Tile

Polished porcelain tiles have a sleek, shiny finish that adds a touch of elegance to any room. These tiles have been mechanically treated to achieve a mirror-like finish. Here’s how to clean them:

  1. Remove Loose Debris: Start by sweeping or vacuuming the tiles to remove any loose dirt or dust. This step is crucial as small particles can scratch the polished surface during cleaning.
  2. Prepare Cleaning Solution: Mix a mild detergent or a pH-neutral cleaning solution specifically designed for polished porcelain tiles with warm water in a bucket. Always follow the manufacturer’s instructions for the correct proportions. Avoid using harsh chemicals or acidic solutions as they may damage the polished surface.
  3. Mop the Floor: Using a microfiber mop, gently mop the floor with the cleaning solution. Avoid using excessive water or allowing the solution to sit on the tiles for an extended period, as it could seep into the grout or under the tiles, causing potential damage.
  4. Rinse and Dry: Rinse the mop with clean water, then mop the floor again to remove any soap residue. After mopping, dry the floor immediately with a soft towel to prevent water spots, streaks, or damage from standing water.

Cleaning Unpolished Porcelain Tile

Unpolished porcelain tiles, also known as matte porcelain tiles, have a natural, slightly textured finish. Cleaning these tiles involves a similar process but with a few key differences:

  1. Remove Loose Debris: Begin by removing any loose dust or dirt with a soft-bristle broom or vacuum cleaner.
  2. Prepare Cleaning Solution: Use a mild detergent or a pH-neutral cleaner meant for unpolished porcelain tiles. Dilute it with warm water according to the manufacturer’s instructions.
  3. Pre-wash the Floor: Before applying the cleaning solution, wet the surface of the tiles with clean, warm water. This pre-washing process helps the tiles resist absorption of the cleaning solution into their slightly porous surface, making the cleaning process more effective.
  4. Mop the Floor: Using a microfiber mop, apply the cleaning solution to a manageable section of the floor. Allow it to sit for five minutes to loosen any grime, but do not allow the solution to dry on the tiles.
  5. Scrub as Needed: For tougher stains, scrub the tiles gently using a soft brush or cloth. Do not use steel wool or abrasive scrubbers as they can scratch the tile surface.
  6. Rinse and Dry: Rinse the area with clean water to remove the cleaning solution, then dry the tiles immediately with a soft, absorbent towel to prevent water stains or damage.

For both polished and unpolished porcelain tiles, regular cleaning and immediate attention to spills or stains will ensure that your floors remain beautiful and durable for years to come.

FAQ

Q: Can I use vinegar or bleach to clean porcelain tiles?
A: Vinegar and bleach are both highly acidic and can damage your porcelain tiles over time. They can cause discoloration and degrade the tile’s surface. It’s best to use a pH-neutral cleaner for porcelain tiles.

Q: How often should I clean my porcelain tile floors?
A: For general upkeep, it’s recommended to sweep or vacuum your porcelain tile floors daily to remove dust and debris. Mopping should be done weekly or as needed, depending on the foot traffic the area receives.

Q: Can I use a steam mop on porcelain tiles?
A: Yes, a steam mop can be used on porcelain tiles. However, ensure to use it according to the manufacturer’s instructions and avoid using it on unsealed grout lines as it can cause damage.

Q: What should I do if a stain doesn’t come out?
A: If a stain doesn’t come out with regular cleaning, you may need a commercial porcelain tile cleaner designed for deep stains. However, always test it in an inconspicuous area first to ensure it doesn’t discolor the tile.

Q: Can I use a scrub brush on porcelain tiles?
A: It’s best to avoid using scrub brushes or any abrasive cleaning tools on porcelain tiles as they can scratch the surface. Instead, use a soft cloth or sponge.

Q: How can I restore the shine to my glazed porcelain tiles?
A: Regular cleaning with a pH-neutral cleaner and avoiding harsh or abrasive materials will help maintain the shine on glazed porcelain tiles. If the tiles still look dull, consider using a commercial tile polish that’s safe for porcelain.

Q: What can cause porcelain tiles to crack or chip?
A: While porcelain tiles are very durable, they can crack or chip if heavy objects are dropped on them. Loose or shifting tiles due to underlying surface or grout issues can also lead to cracking. Regular maintenance of both the tiles and grout can help prevent damage.

Q: How can I clean the grout between my porcelain tiles?
A: Grout can be cleaned using a mild, bleach-free cleaner and a soft brush. For stubborn stains, a grout stain remover can be used. However, always test any product in an inconspicuous area first to ensure it won’t discolor the grout or tiles.

Q: Can I use wax on my porcelain tiles?
A: It’s generally not recommended to use wax on porcelain tiles. Wax can build up over time, causing the tiles to look dull and attracting more dirt and grime. Instead, maintain the tiles with regular cleaning and use a tile polish if necessary.

Q: Do I need to seal my porcelain tiles?

A: Glazed porcelain tiles don’t need to be sealed as they already have a protective layer. However, unglazed porcelain tiles are more porous and may benefit from sealing to prevent stains and damage. Always check with the tile manufacturer or a flooring professional to see if your specific tiles need sealing.

Final Thoughts

Regular cleaning is key to maintaining the beauty and durability of your porcelain tile floors. Remember to use non-abrasive and pH-neutral cleaning products and tools to avoid any damage. With regular sweeping, mopping, and occasional spot cleaning, your porcelain tiles can retain their stunning aesthetic appeal and last many years. The effort you put into maintaining your floors will surely pay off in the long run, rewarding you with a clean and welcoming home.
Health Benefits of Steam Shower

Health Benefits of Steam Shower

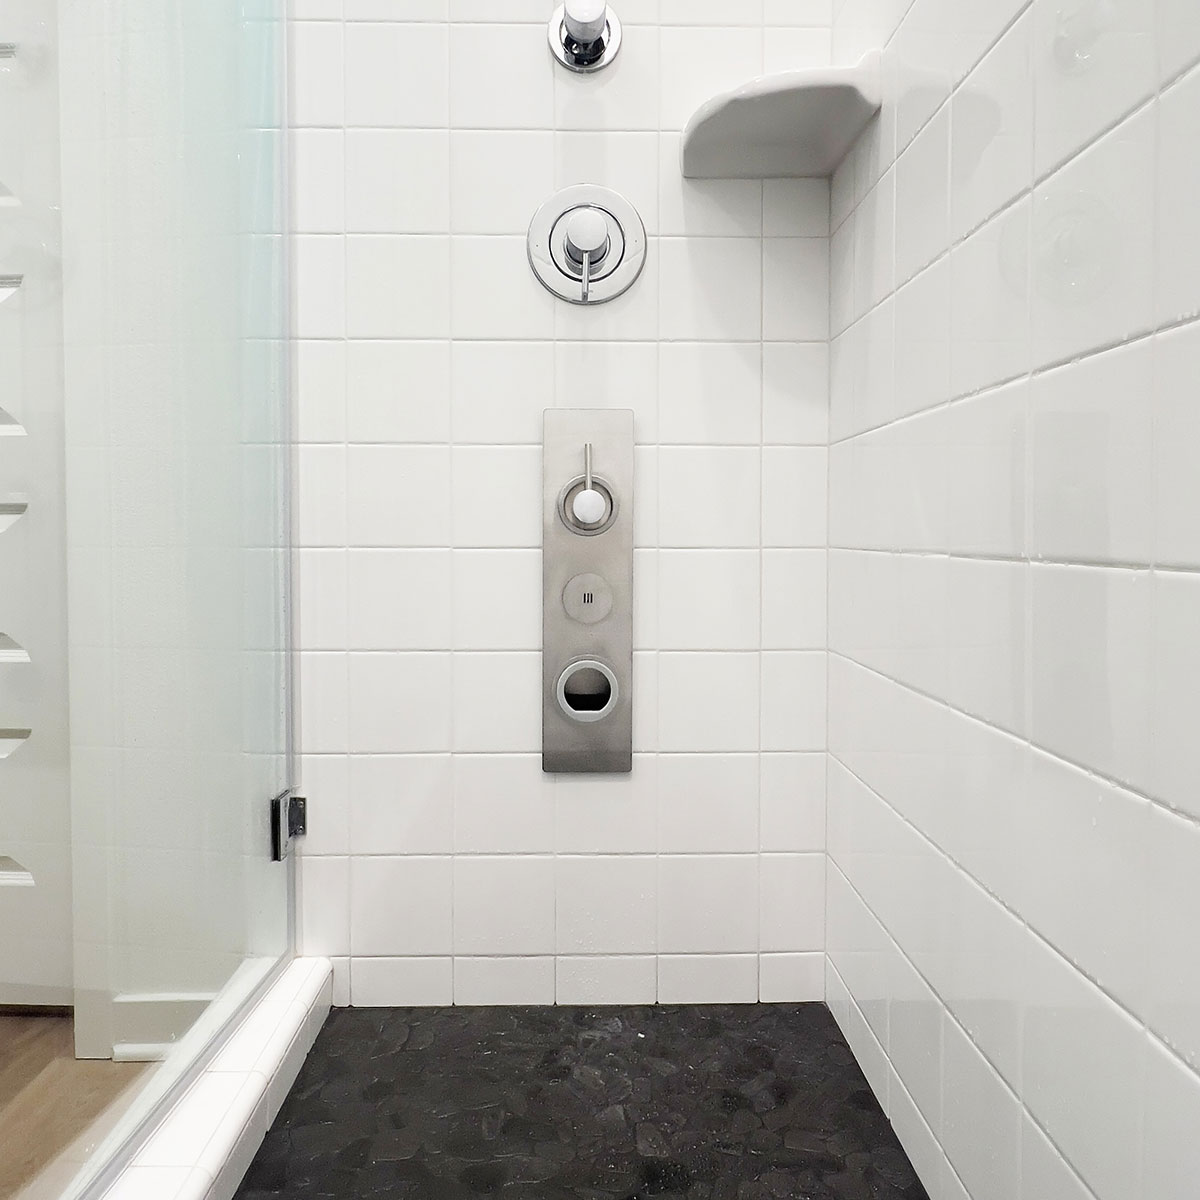
Steam showers are an increasingly popular addition to modern bathrooms, offering a spa-like experience in the comfort of one’s own home. As an excellent tool for relaxation, stress relief, and overall health benefits, steam showers have become a must-have feature for many homeowners. In this article, we will dive deep into the world of steam showers, exploring their benefits, installation process, maintenance, and everything you need to know before investing in one for your home.

The Benefits of Steam Showers

1. Relaxation and stress relief: Steam showers offer a tranquil oasis where you can escape the stresses of everyday life. As the warm, soothing steam envelops your body, it helps to ease tense muscles and promote relaxation. This serene environment is perfect for meditation, mindfulness, or simply unwinding after a long day. By incorporating a steam shower into your daily routine, you can effectively reduce stress levels and improve your overall well-being.

2. Improved circulation: The heat generated in steam showers causes blood vessels to expand or dilate, promoting better blood flow throughout the body. Improved circulation can help to alleviate minor aches and pains, reduce inflammation, and speed up the healing process for injuries. Additionally, the increased blood flow can help deliver essential nutrients and oxygen to your muscles and organs, promoting overall health and vitality.

3. Respiratory health: Steam showers have therapeutic benefits for those suffering from respiratory issues such as allergies, asthma, or sinusitis. The warm, moist air generated in the shower can help to open up airways, making it easier to breathe and reducing congestion. It can also soothe irritated respiratory passages, providing relief from coughs, colds, and other respiratory ailments. Incorporating steam showers into your self-care routine can support long-term respiratory health and enhance your breathing capabilities.

4. Skin health: Steam showers are a powerful ally in maintaining healthy, radiant skin. As the steam opens up your pores, it allows for a deep and thorough cleanse, helping to remove impurities and excess oil. This process can reduce the likelihood of acne breakouts and promote a clearer complexion. Furthermore, the increased blood flow triggered by the heat nourishes your skin cells with oxygen and essential nutrients, providing a natural glow and promoting skin cell regeneration for a more youthful appearance.

5. Detoxification: Sweating is a natural detoxification process that helps your body eliminate toxins and impurities. Steam showers stimulate your body to sweat more profusely in response to the heat, effectively flushing out toxins through the skin. This detoxifying effect can contribute to a healthier immune system, improved digestion, and enhanced metabolic function. By incorporating steam showers into your wellness routine, you can support your body’s natural detoxification processes and boost overall health.

6. Enhanced immune system: Regular steam shower sessions can help boost your immune system by increasing white blood cell production. As your body’s temperature rises during a steam shower, it mimics a fever-like state, prompting your immune system to respond more aggressively against potential infections or viruses. This heightened immune response can help you stay healthier and recover more quickly from illnesses.

7. Joint and muscle pain relief: The heat from steam showers has a therapeutic effect on sore muscles and achy joints. The increased blood flow and warmth can help reduce inflammation and relax muscles, providing relief for conditions such as arthritis, fibromyalgia, and other chronic pain disorders. Incorporating steam showers into your pain management routine can offer a natural, drug-free way to alleviate discomfort and improve your overall quality of life.

8. Better sleep: Many people find that steam showers help improve their sleep quality, particularly when used in the evening before bedtime. The combination of heat, relaxation, and stress relief can make it easier for you to fall asleep and enjoy a more restful night’s rest. By establishing a steam shower routine before bed, you can promote healthier sleep patterns and potentially reduce the need for sleep aids.

9. Enhanced mood and mental well-being: The relaxing atmosphere of a steam shower can have a positive effect on your mental health, helping to reduce anxiety and lift your spirits. The heat and steam can stimulate the production of endorphins, the “feel-good” hormones that contribute to a sense of happiness and well-being. As a result, incorporating steam showers into your self-care routine can offer a natural way to combat stress, anxiety, and depression.

10. Increased flexibility and mobility: The heat from steam showers can help improve your flexibility by warming up your muscles and connective tissues. As your body becomes more limber, you may find it easier to perform daily activities or engage in exercise routines that require flexibility, such as yoga or Pilates. By regularly using a steam shower, you can support better joint mobility, reduce the risk of injury, and improve your overall physical performance.

Installation Considerations

1. Space requirements: A steam shower requires a dedicated, enclosed space to prevent the steam from damaging other areas of the bathroom. The space should be properly sealed and insulated to maintain the heat and humidity levels.

2. Steam generator: A steam generator is essential for producing the steam and should be sized according to the volume of the shower enclosure. Choose a reputable brand to ensure the longevity and reliability of your steam shower system.

3. Ventilation: Adequate ventilation is necessary to maintain air quality and prevent excessive humidity buildup. Installing an exhaust fan and an air gap in the shower door can help with ventilation.

4. Waterproofing: The steam shower enclosure should be properly waterproofed using suitable materials such as cement backer boards and vapor barrier membranes to prevent water damage.

5. Professional installation: Hiring a professional contractor or plumber with experience in steam shower installations is highly recommended to ensure the system is installed correctly and safely.

Maintenance Tips

1. Regular cleaning: Clean your steam shower enclosure to prevent mold and mildew growth after each use. Use non-abrasive cleaning products that are safe for your enclosure’s materials.

2. Inspect seals and gaskets: Periodically inspect the seals and gaskets around the door and steam generator to ensure they are in good condition and functioning properly.

3. Drain the steam generator: To prevent mineral buildup, regularly drain and flush the steam generator according to the manufacturer’s instructions.

4. Replace parts as needed: If you notice any issues or malfunctions, replace the necessary parts promptly to maintain the safety and efficiency of your steam shower.

Steam showers are an excellent investment for those looking to add a touch of luxury and wellness to their bathroom. By understanding the benefits, installation process, and maintenance requirements, you can make an informed decision and enjoy a spa-like experience in the comfort of your own home. So, go ahead and indulge in the steamy affair of a steam shower – your body and mind will thank you.

Frequently asked questions (FAQ)

Q1: What are steam showers?

A1: Steam showers are enclosed shower units that produce steam by heating water with a steam generator. They provide a relaxing, spa-like experience, offering numerous health and wellness benefits, such as stress relief, improved circulation, respiratory health, skin health, and detoxification.

Q2: Are steam showers worth it?

A2: Steam showers can be a valuable addition to your home, offering a luxurious and therapeutic experience. They can help improve your overall well-being by providing relaxation, stress relief, and various health benefits. However, the worthiness of a steam shower ultimately depends on your personal preferences, budget, and available space.

Q3: Do steam showers help coughs?

A3: Steam showers can potentially help alleviate coughs by providing warm, moist air that can help soothe irritated respiratory passages and loosen mucus. This can be especially helpful for those with colds, allergies, or sinus issues. However, it is essential to consult with a healthcare professional before using a steam shower for cough relief, as the underlying cause of the cough may require medical attention.

DTA Lippage Leveling System

Preventing lippage is a serious matter if you’re trying to install your tiles as a professional or even as a DIY installer. The last thing you would want is unevenly spaced floor tiles or what people usually call tile lippage. With the intention of keeping tile installations much more efficient and free from errors, DTA has provided a set of tools and systems available for people to use for both commercial and residential purposes.

DTA Lippage Leveling System is a set of tools explicitly designed to accomplish lippage-free tile installation projects with much less time and errors. The leveling method consists of different tools that are part of the Anti Lippage Tile Leveling System to keep your floor tiles nice and clean.

Parts of the DTA Lippage System

The lippage system consists of three leveling tools: leveling caps, tile spacers, and a tile leveling gun. By coherently using these three tools, you’ll be able to install tiles free from lippage consistently.

  • Tile leveling spacers – used to prevent your tile from being too close together as well as keeping an even distance for each tile during the installation.
  • Tile leveling gun – the leveling gun tool is utilized after everything is tucked on the floor to tighten the caps to keep things as evenly placed as possible. 
  • Leveling system caps – the system caps are fitted right to the top of the spacers, which helps level the tiles in between.

Advantages of Using the DTA Leveling System

  • This system is purely designed to achieve a consistently leveled results across any tiled area. 
  • An effortless and quick way to lay out your tiles that takes away leveling errors, saving a ton of time for installers.
  • Designed for flexibility and performance as the system works and is suitable for both floors and walls.
  • The base of each leveling spacer is strategically designed to have holes to allow it to push through the wet adhesive, which then ensures equal adhesion for your tile floors.
  • Perfect leveling even if your tiles are uneven. This means that the system will work on various tile thicknesses.
  • The most cost-effective and versatile leveling system in the market.

How to Use the Lippage Leveling System

Before using the DTA Lippage Leveling System, you should first ensure that the floor is already prepared and leveled.

  1. Once the floor is ready and adhesives are already mixed, it is now time to lay down the first tile.
  2. Place the tile leveling spacers under the first tile that is already laid down. Make sure you space them out evenly if using multiple leveling spacers.
  3. After that, lay down the second tile, with the spacers hanging out in between the two tiles.
  4. Fit the cap on top of your leveling spacers and tighten them using the tile leveling gun.
  5. Gently repeat the whole process until you’ve already set the tiles on the entire floor.
  6. Wait for the adhesive to dry first, then remove the caps by simply kicking them off.

Easy Maintenance Tips for Underfloor Heating Systems

Have you ever walked on a floor and noticed that it feels warm and cozy? Chances are, it’s an underfloor heating system at work. Due to its cost-effectiveness and comfort, underfloor heating has become a popular choice for many homeowners and business owners. However, proper maintenance is needed to ensure its longevity and peak performance. 

In this article, we’ll share with you some tips and tricks you can do today to preserve the effectiveness of your floor heating systems that should keep you warm and cozy during the cold months.

Periodic Cleaning of Your Heating Systems

Regular cleaning is always crucial to maintain your underfloor heating system’s efficiency. Over time, dirt and debris can build up on the heating pipes, leading to diminishing performance. To prevent this, using a soft-bristled brush is highly recommended to sweep the pipes and remove any accumulated dirt. Doing so ensures that the heating pipes remain clean and unobstructed, allowing for efficient heat distribution throughout your home. Regular cleaning makes a huge difference in extending the lifespan of underfloor heating systems and lets you make the most out of your money’s worth.

Always Check the Pressure

Besides cleaning, regularly checking the pressure gauge is also advised to ensure the pressure is within the optimal range. Low pressure could also lead to a decline in performance, so it’s vital to refill the system if you notice the pressure dropping below the recommended level. By keeping an eye on the pressure gauge and refilling the system as needed, you’ll be able to ensure that your underfloor heating system operates at peak efficiency and lets you avoid any potential issues in the long run.

Bleeding the System

Another maintenance task that is often overlooked is bleeding the system. Trapped air can cause cold spots on the floor, and bleeding the system can remove any air bubbles. In this part, following the manufacturer’s instructions carefully is necessary to avoid damaging the system.

Inspect for Leaking Issues

flooring

Leaking is also a prevalent issue that can affect the performance of your underfloor heating system. Regularly inspecting the system for signs of leakage, such as damp patches on the floor is always a good idea to avoid unforeseen problems in the future. If you suspect a leak, immediately seek assistance from a technician, so they identify the source of the problem and make the necessary repairs. Ignoring a leak can further damage the system and even pose safety hazards, so it’s best to stay vigilant and address issues like leakage immediately.

Routine Servicing for Maintenance

A skilled technician can inspect the system’s components, such as the boiler, valves, and pipes, to identify any issues before they escalate. To keep your underfloor heating system in excellent condition and prevent any potential breakdowns, routine servicing is highly recommended. A well-maintained underfloor heating system is more efficient and can save you money in the long run by reducing the need for costly repairs.

Consider the Compatibility of Thermostat

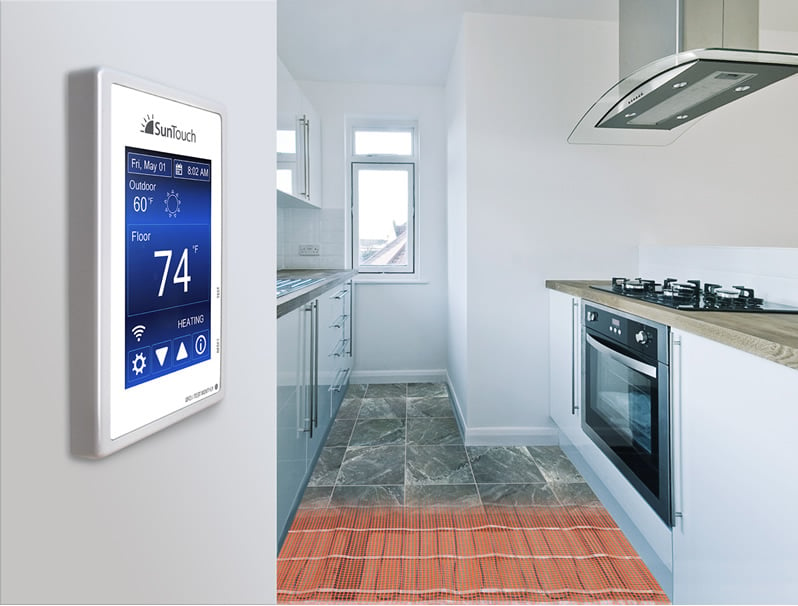
Choosing a compatible thermostat for your underfloor heating system is also crucial. Different thermostats are designed for specific heating systems, so make sure to choose one that is compatible with your underfloor heating system. The thermostat should also be located in a suitable location, away from any heat sources or drafts.

Seek Expert Advice On Flooring Types

The type of flooring above your underfloor heating system can also affect its performance. Certain types of flooring, such as thick carpets or vinyl, can restrict the heat flow and reduce the system’s efficiency. Therefore, consulting your underfloor heating system’s manual for advice on suitable flooring types can help ensure maximum performance.

Home Improvements

It’s crucial to be cautious while performing home improvements to prevent any damage to the underfloor heating system. Whenever you’re planning to drill into the floor or carry out any renovation work, ensure that you take the necessary precautions to avoid damaging the underfloor heating system.

If you’re not sure about how to proceed, it’s always advisable to seek guidance from a qualified technician who can help you with the necessary steps to ensure the safety of your heating system. Remember, taking care of your underfloor heating system is essential to ensure its longevity and efficient functioning, and any damage can lead to costly repairs.

Final Thoughts

Bottomline, underfloor heating systems are excellent heating solution that provides comfort and cost-effectiveness. However, proper maintenance is paramount to ensure its efficient operation and longevity. Regular cleaning, bleeding, servicing, checking the pressure and looking for leaks are all important maintenance tasks. By following these tips, you can enjoy and make the most out of the benefits of underfloor heating for many years to come.

Have you found these underfloor heating maintenance tips helpful? Leave a comment down below and share us your thoughts.

Advantages of Installing a Custom Shower Pan

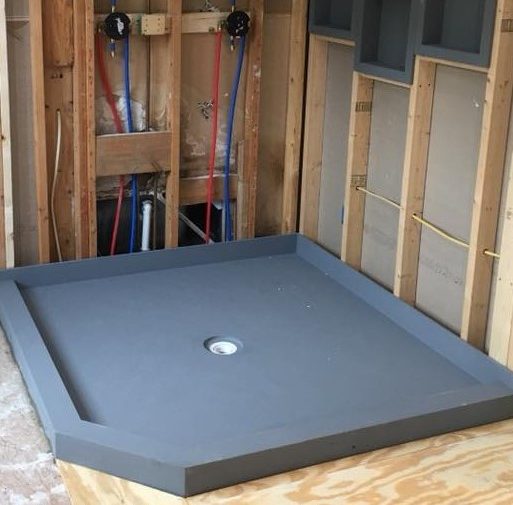
Preformed Custom Shower Pan

Have you been considering whether a custom shower pan is worth installing for your bathroom remodeling project? If you’re unfamiliar with custom shower pans and their benefits, then this article is for you. We’ll discuss the advantages of adding a custom shower pan to your bathroom, and why it’s a worthwhile investment.

Custom Tailored Fit

One of the first things that separate custom shower pans from traditional shower pans is their suitability in any shower dimensions.While typical shower pans have limited size options, custom shower pans, on the other hand, offer multi-variant options that can be tailored to fit your unique bathroom measurements.

Having a custom shower pan tailored explicitly to your bathroom enables you to have more flexibility and take full advantage of what a functioning shower pan has to offer.

Prevents Leakage

An excellent way to prevent leakage is by ensuring that your bathroom has properly fit and installed shower pans with no gaps, spaces, and a watertight seal.

The last thing anyone wants is to deal with leaking showers, mold growth, or other structural damages that can lead to costly problems over time. That’s why homeowners looking to remodel their bathrooms prioritize ensuring their custom shower pans are properly functioning. A well-designed shower pan is an essential element that every shower needs to prevent these issues and ensure a long-lasting, comfortable shower experience.

Effortless maintenance

The ease of maintaining and preserving the overall function of custom shower pans can vary depending on the source and quality of the product. That said, custom shower pans made from high-quality materials are typically designed to be resistant to stains, scratches, and chipping, making maintenance and upkeep easier.

By choosing a reputable source like Flooring Supply Shop for your custom shower pans, you can enjoy the benefits of a low-maintenance and long-lasting solution for your bathroom.

Installed within minutes

Many of those who already have an experience in renovation, or specifically towards bathroom remodeling projects, is that it can take a while to finish—considering the time it takes to have a fully formed project plan, execution, installations, and reiterations. Custom shower pans are designed specifically to solve this overbearing concern of complex and lengthy installations.

Since these shower pans are specifically built to perfectly fit your shower dimensions, it eliminates the need for time-consuming and labor-intensive tile work, giving you both efficiency and precision for the task at hand. For better results, it is still best to let a professional handle the installation to avoid minimal yet costly mistakes.

Final thoughts.

Bottomline, custom shower pans provide homeowners an excellent option to build an aesthetically pleasing, durable, and functional shower experience that will last you for years to come.

If you’re planning a weekend project to upgrade your bathroom, consider finding a reputable source for a custom shower pan. At Flooring Supply Shop, we present a wide selection of high-quality shower pans that can instantly transform your bathroom and sweeten your shower experience.

Have you found this article helpful? Comment down below and share us your thoughts in the comment section below.

Flooring Supply Shop Blog | Flooring and Floor Heating Supply - Part 2