How to Install ProPan with ProPanel shower pan system
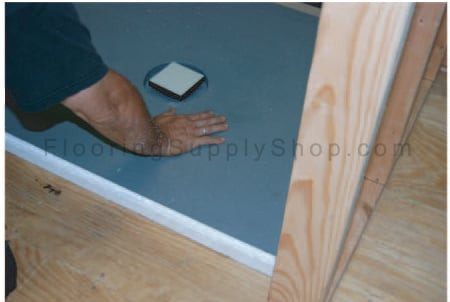
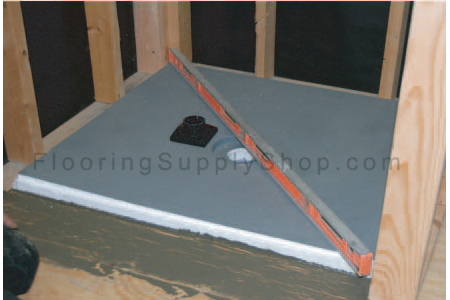
Dry fit ProPan® on the shower area. Make sure to pay attention to the location of the center of the drain.
Pan edges may be cut to size pan. If modified, the 1/2″ manufactured channel must be re cut to allow for proper installation of ProPanel®.
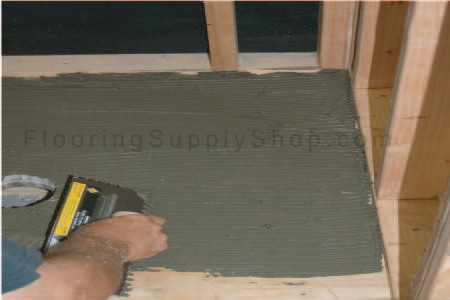
Apply a medium bed, latex modified thin-set to the floor area and the underside of pan. Use a 1/2″ x 1/2″ notched trowel.
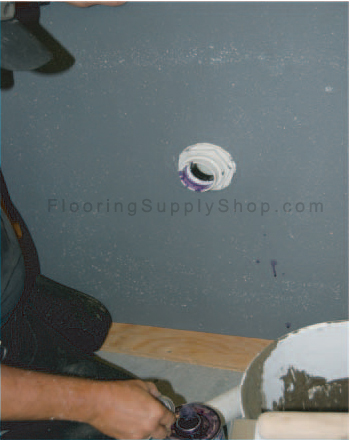
Apply a liberal coat of PVC or ABS cleaner and solvent cement to the drainpipe and inside the drain where the connection will be made. Note: Solvent choice based on drain type. Follow manufacturer’s instructions.
Set pan into the wet thin-set and apply pressure to achieve complete coverage. Level pan to insure proper drainage plane.
ProPanel® Lightweight Waterproof Backer Board Installation:
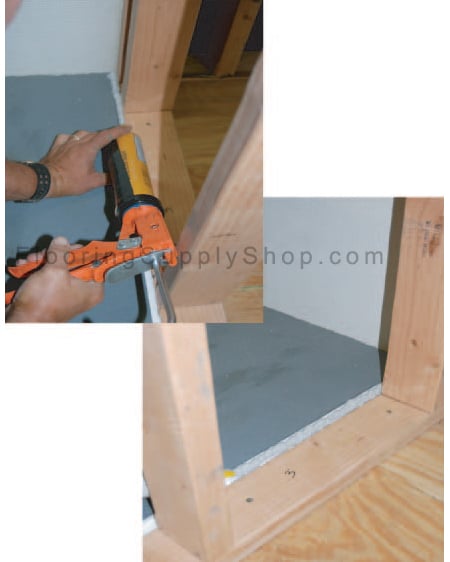
Apply a 1/2″ continuous thick bead of polyurethane sealant into the
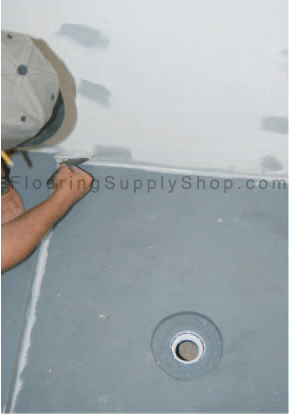
channel of the ProPan®. Using 1/2″ ProPanel® Backer Board, set the board into the sealant until you see sealant oozing out along the joint. Spread excess sealant ensuring a continuous seal at the joint.
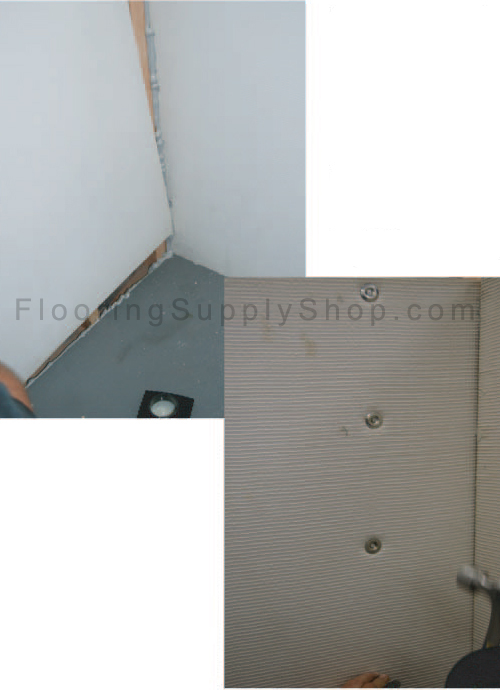
Fasten ProPanel® directly to framing with ProPanel® fasteners starting 1 foot above the shower pan. Whenever 2 boards come together to make a joint, apply a 1/2″ bead of sealant on board edges. All boards must be fit together tightly allowing sealant to ooze from joint. Spread excess sealant ensuring a continuous seal at the joint.
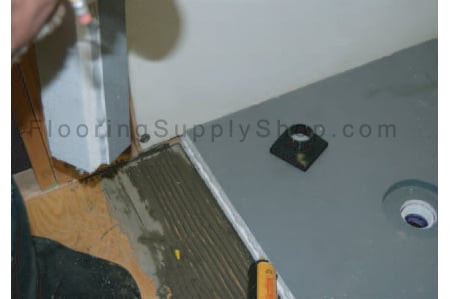
Next, determine location of ProPan® Curb. Affix curb to floor by applying a 1/2″ modified mortar bed to floor and underside of curb. Before setting curb in place, apply a bead of polyurethane to ProPan® channel and to the adjoining wall panels.
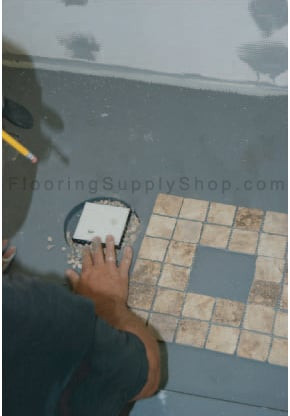
Screw square strainer down to correct height to match tile. Pack thin-set or pea gravel into area cut out for strainer adjustment.
All fasteners must be completely covered with sealant and spread to form a seal. After installation is complete, it is specified to apply another bead of sealant on all joints, especially on the ProPan® perimeter and curb, to fill any voids in sealant.
Always install tile according to Tile Council of North America (TCNA) guidelines
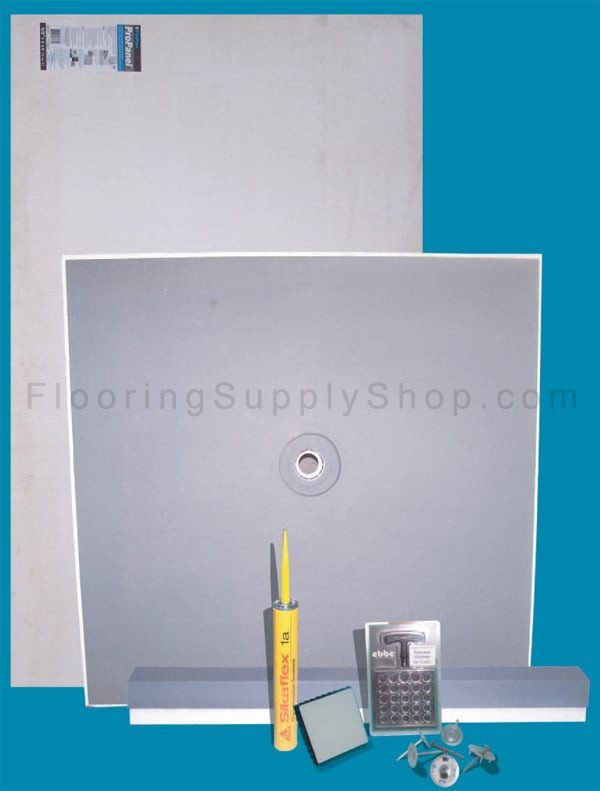
Complete floor and wall kit Include: ProPan base, Solid Curb, Light weight backer board ProPanel’s, Polyurethane Sealants, Fasteners
Floor kit include: ProPan and Solid Curb
Preformed Ready to Tile Product links
PreFormed Ready to Tile Shower Pan – ProPan Shower Pans – PreFormed Slope – PreFormed Niches – PreFormed Shower Seats – PreFormed Curb – ProPanel Lightweight Insulated Backer Board MSDS
Copyright © 2010 FlooringSupplyShop.com
Thanks for the info.
That is very fascinating, You’re a very professional blogger. I’ve joined your feed and look forward to searching for more of your great post. Additionally, I’ve shared your site in my social networks