

White Glossy 6x6 Porcelain Recessed Soap Dish
Couldn't load pickup availability
Delivery and Shipping
Delivery and Shipping
- Orders are shipped via USPS, UPS, or FedEx.
- Shipping time up to 5 business days. Weekends not included.
- Express shipping options available.
- Same-day shipping cut-off time 4:00 PM PST for most items.
- For oversized shipments that require freight delivery, our team will contact you.
White Glossy 6x6 Porcelain Recessed Soap Dish
Description
Description
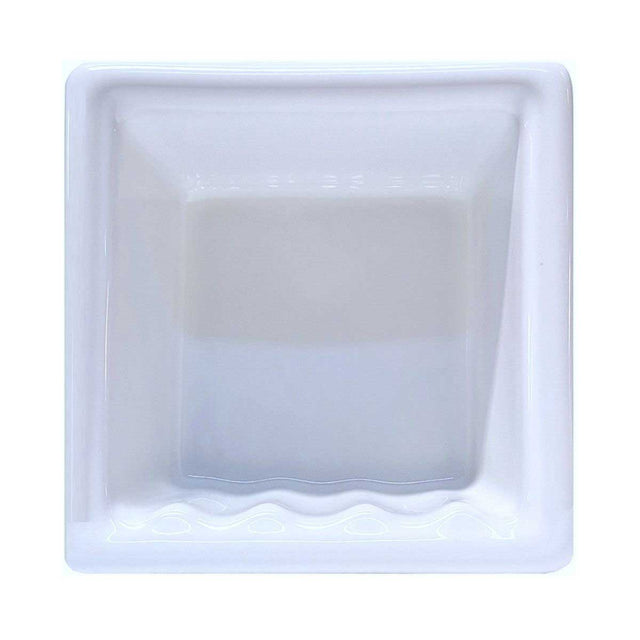
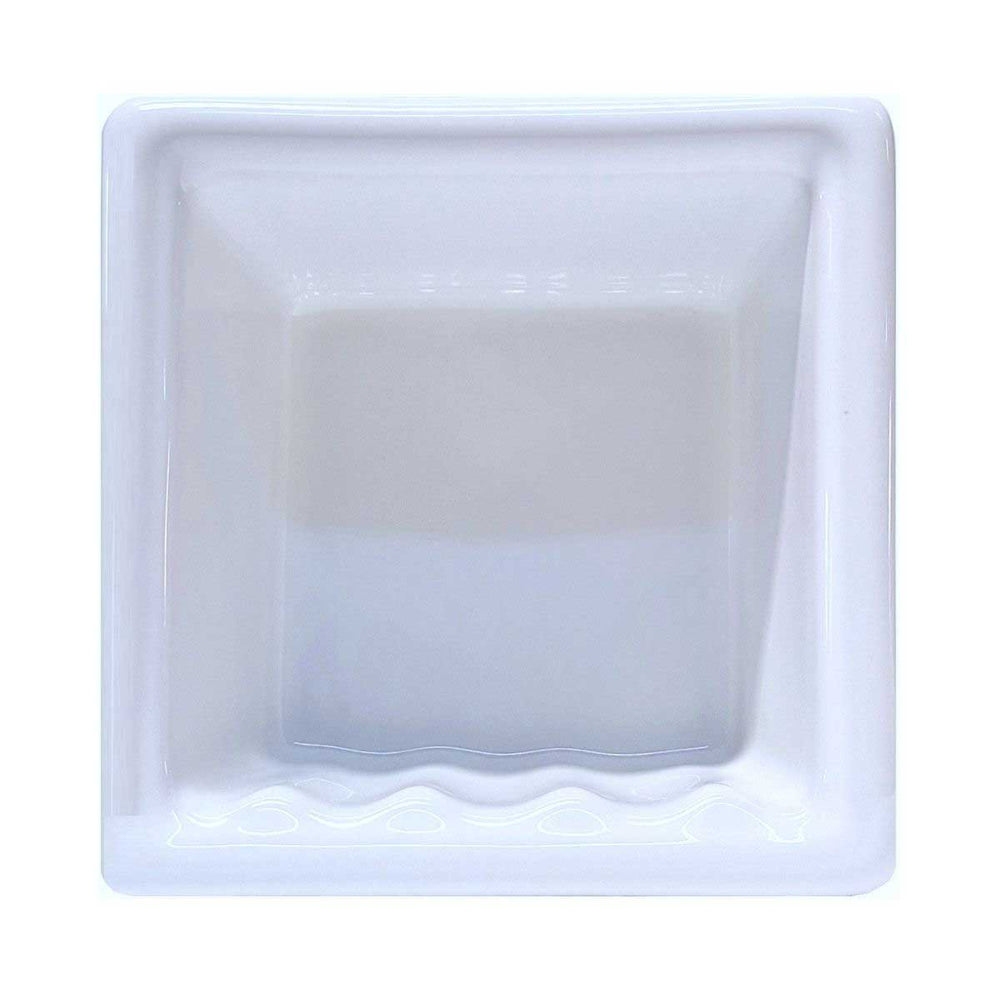
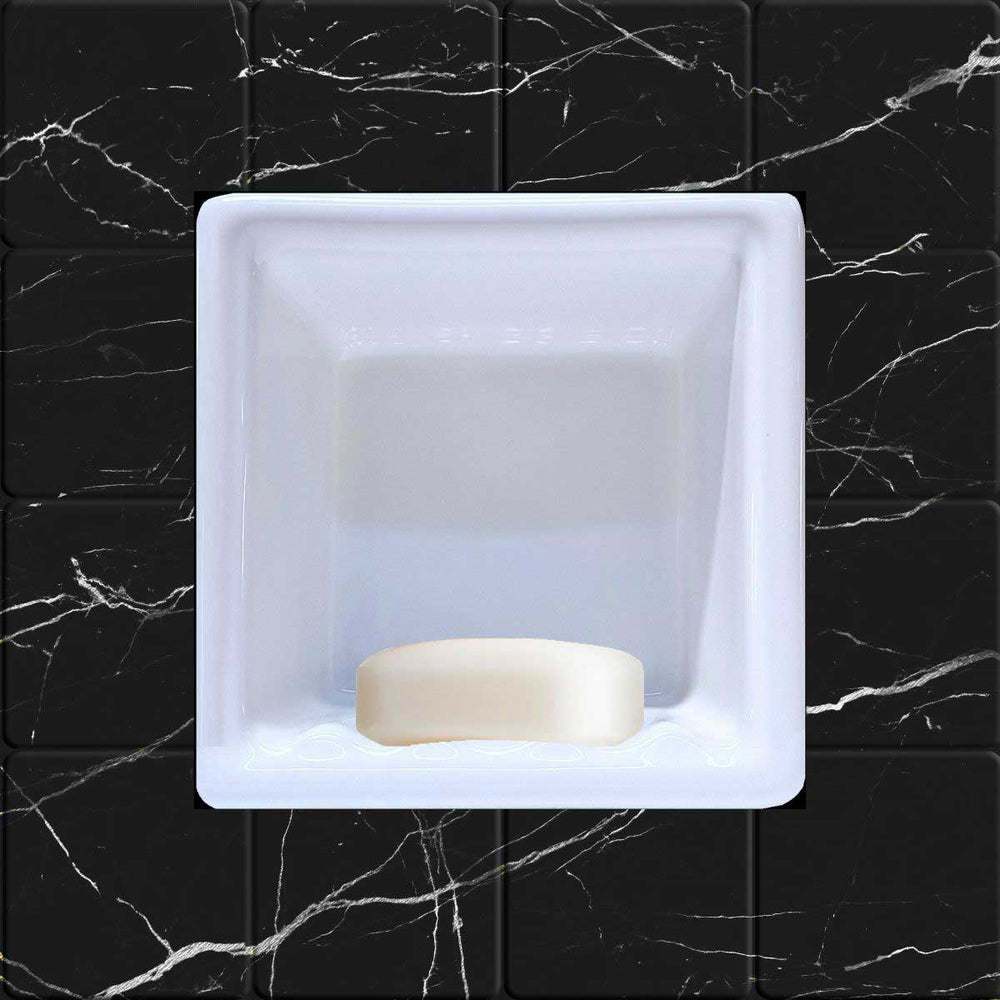
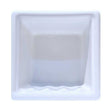
White Glossy 6x6 Recessed Porcelain Soap Dish
Add convenient storage and a clean built-in appearance to your shower or bathroom with this White Glossy 6x6 Recessed Porcelain Soap Dish. Designed to fit neatly within the wall cavity, this recessed soap holder helps maximize usable space while creating a finished, professional look.
The glossy white finish coordinates beautifully with ceramic tile, porcelain tile, and natural stone installations. Ideal for shower remodels, bathroom renovations, and new construction projects, this recessed soap dish provides a practical storage solution without extending into the shower area.
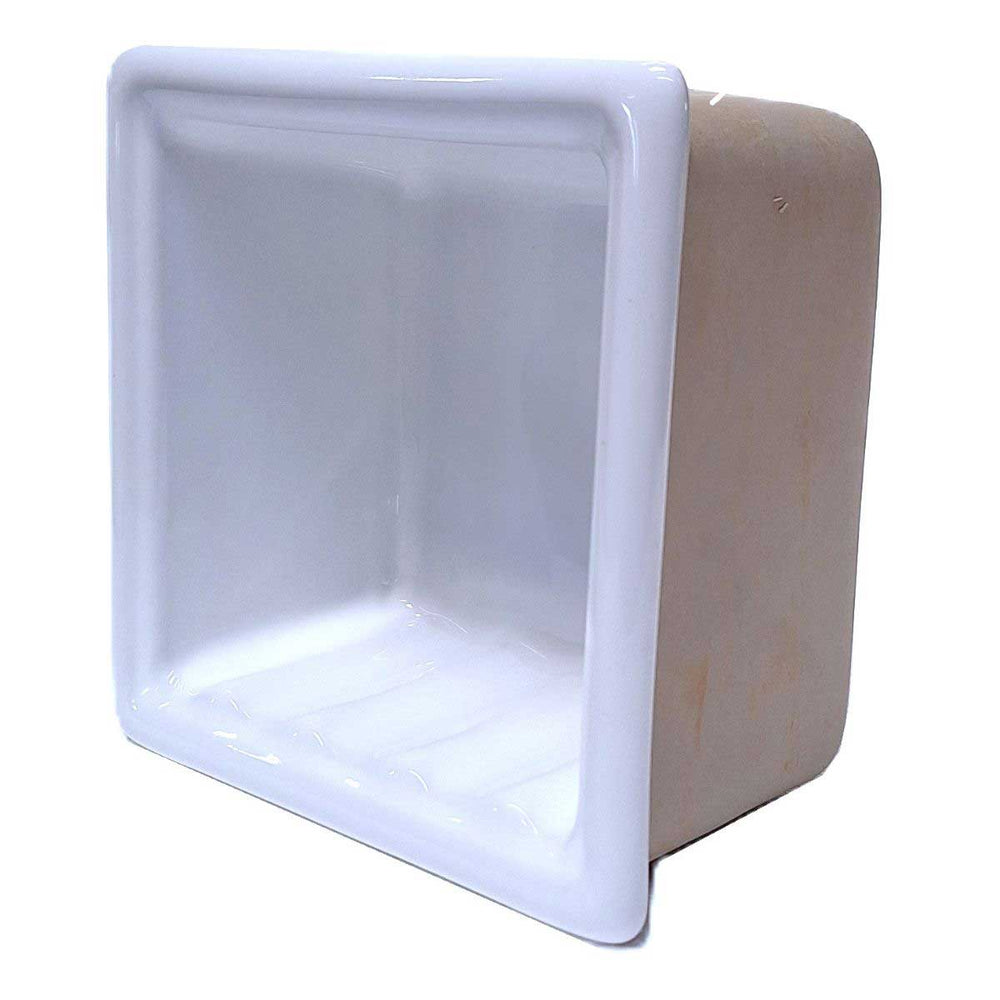
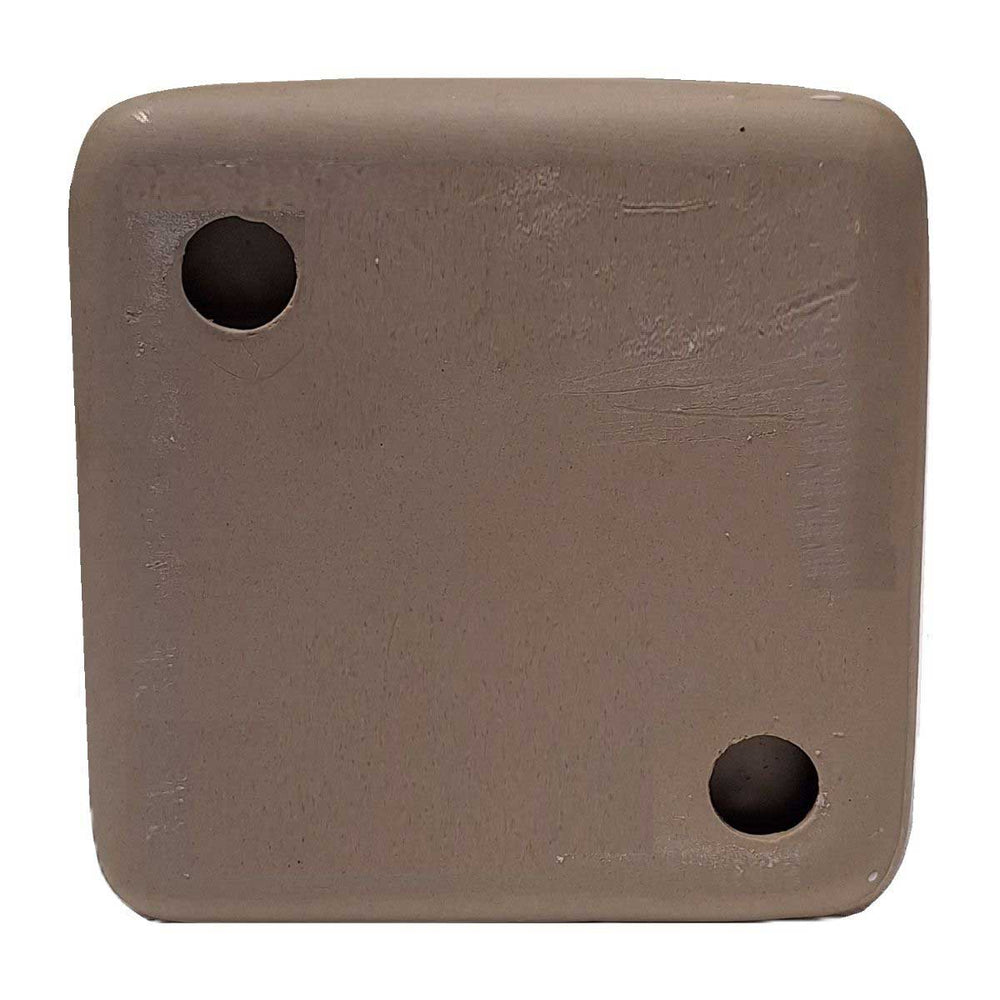
Constructed from durable porcelain ceramic, this recessed accessory is suitable for both residential and commercial applications. Its timeless design complements traditional, contemporary, and classic bathroom styles.
Color: White Glossy
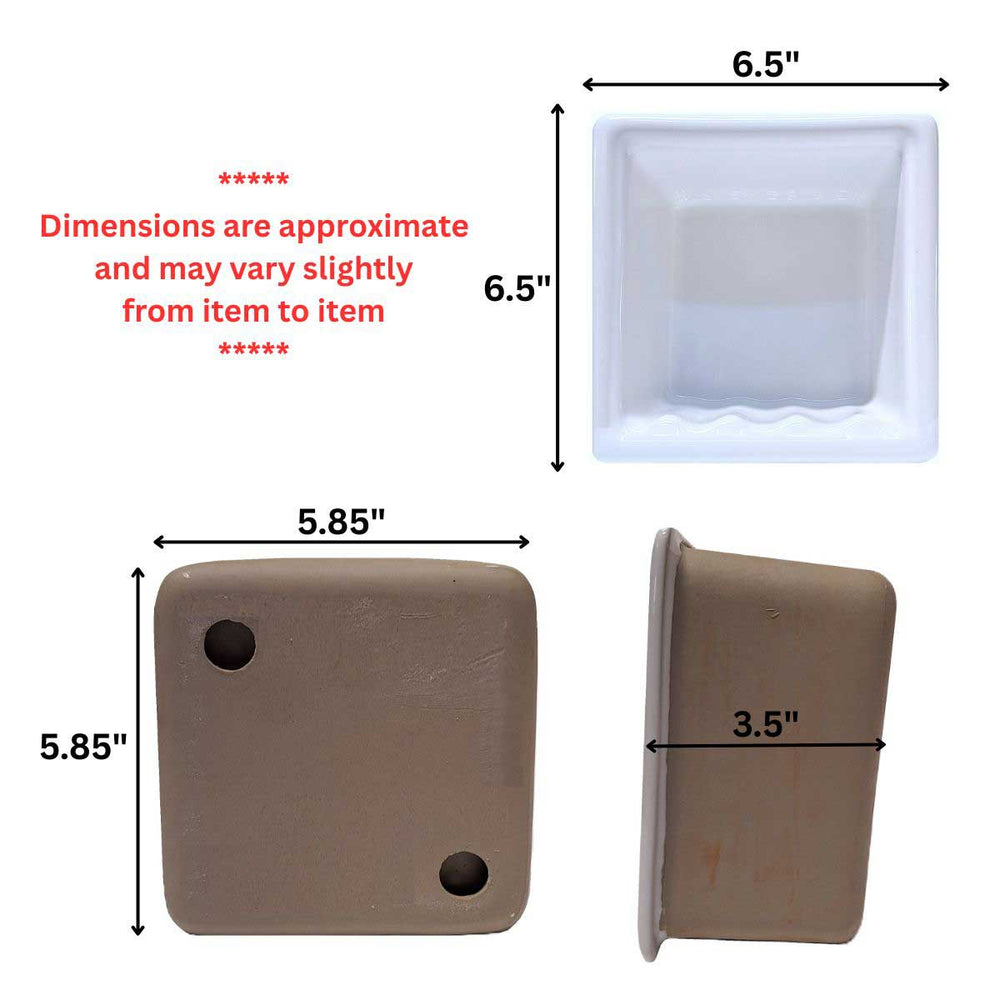
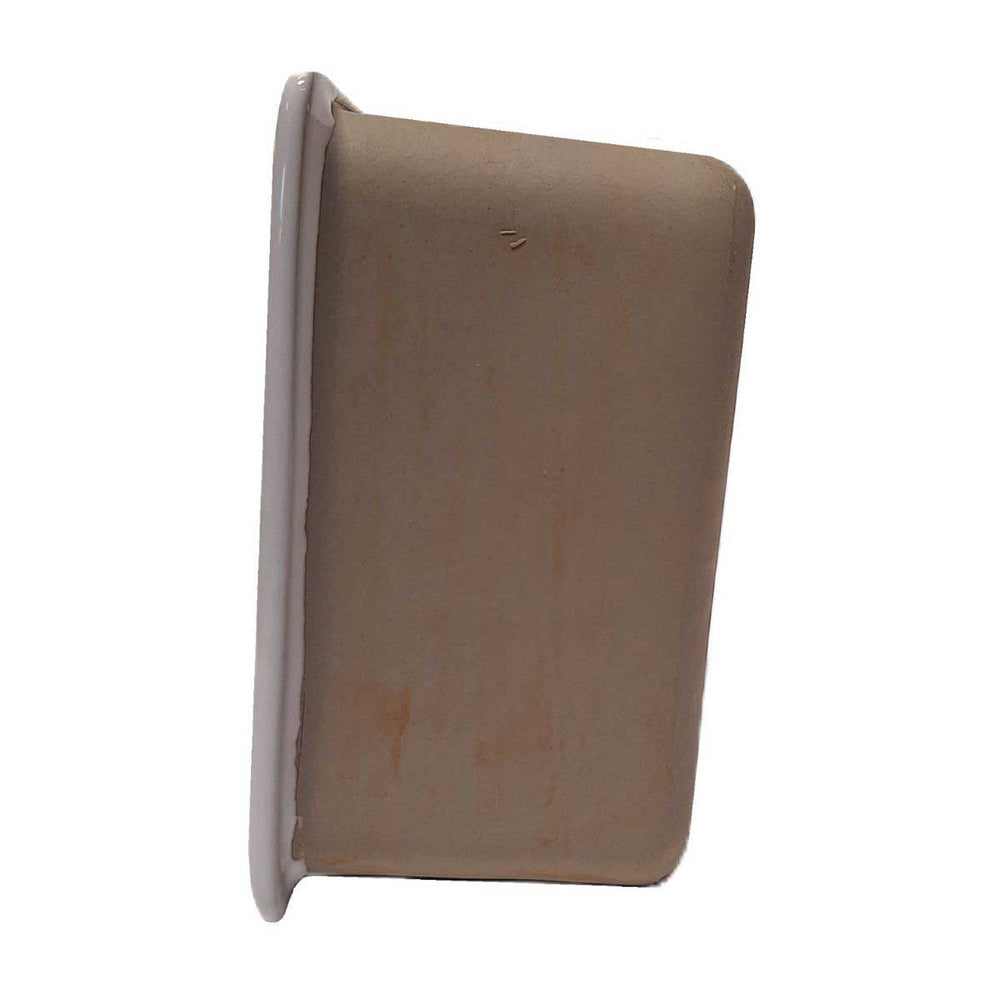
Approximate Dimensions:
Front: 6 1/4" x 6 1/4"
Projection: 5/16"
Approximate Wall Opening:
5 7/8" x 5 7/8"
Depth: 3 7/16"
Important: Do not cut the wall opening until you receive the recessed soap dish.
Features:
- Premium porcelain ceramic construction
- White Glossy finish
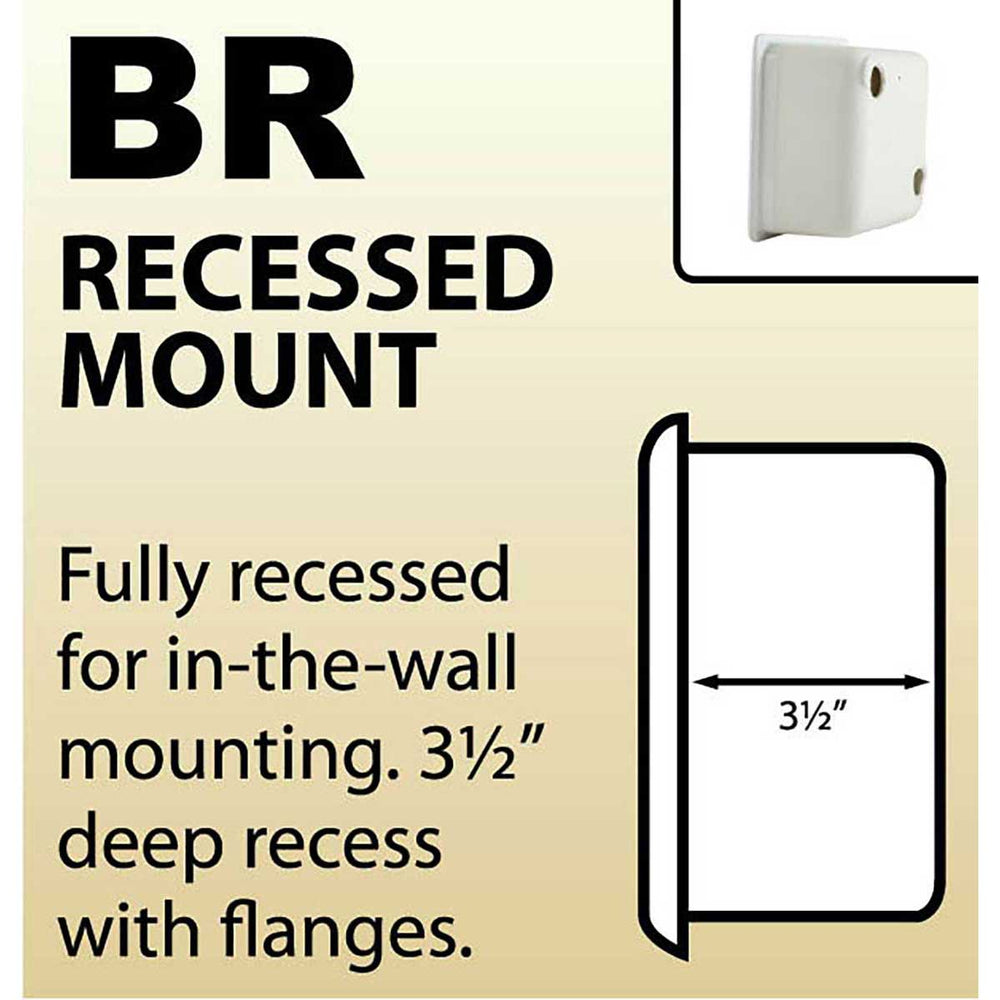
- Recessed design for a clean built-in appearance
- Suitable for showers and bathrooms
- No waterproofing required for installation
- Compatible with residential and commercial applications
- Helps maximize usable shower space
- Easy to clean using standard all-purpose cleaners
- Coordinates with a wide variety of tile styles and bathroom designs
Installation Instructions:
Step 1: Select the Installation Location
Choose a convenient and accessible location on the wall. Ensure there are no pipes, electrical wiring, or studs behind the selected area. Mark the outline using a pencil and level.
Step 2: Cut the Opening
Measure the recessed mounting section and transfer the dimensions to the wall, allowing approximately 1/8" clearance. Carefully cut the opening using an appropriate tile or drywall saw.
Step 3: Prepare the Surface
Remove any dust or debris from the opening. Test-fit the soap dish to confirm it sits flush against the wall surface.
Step 4: Install the Holder
Press the accessory firmly into the opening until it sits flush with the wall surface. Use a level to ensure proper alignment.
Step 5: Seal the Edges
Apply a clean bead of silicone sealant around the outer edges where the holder meets the tile or wall surface. Smooth the silicone for a clean finish and allow it to fully cure before use.
Step 6: Final Inspection
Confirm the soap dish is secure, level, and properly sealed. Clean the surface with a soft cloth after installation.
Shop Related Collections:
Shop Ceramic & Stone Bathroom Accessories
The installation methods shown above may also apply to similar recessed ceramic bathroom accessories and niches with comparable mounting backs.
Color variations are inherent in all fired clay products and may vary slightly from piece to piece.
Payment & Security
Payment methods
Your payment information is processed securely. We do not store credit card details nor have access to your credit card information.