


SereneDrains Ceramic Recessed Toilet Paper Holder White Glossy Extended Extra Large Bathroom Tissue Roll
Couldn't load pickup availability
Delivery and Shipping
Delivery and Shipping
- Orders are shipped via USPS, UPS, or FedEx.
- Shipping time up to 5 business days. Weekends not included.
- Express shipping options available.
- Same-day shipping cut-off time 4:00 PM PST for most items.
- For oversized shipments that require freight delivery, our team will contact you.

SereneDrains Ceramic Recessed Toilet Paper Holder White Glossy Exte...
Description
Description
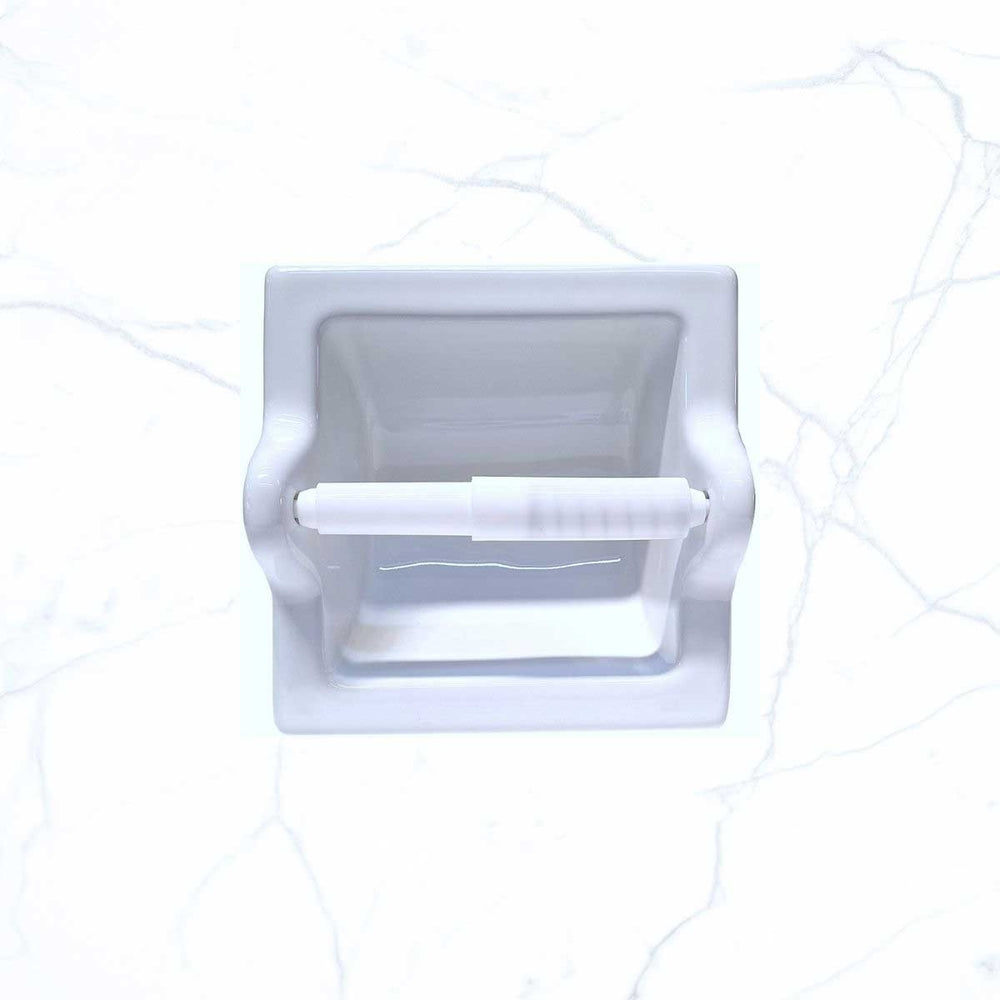
SereneDrains Extended Extra Large Ceramic Recessed Toilet Paper Holder
Note: This holder is designed to fit larger toilet paper rolls commonly available on the market. Since roll sizes may vary by brand, we recommend verifying your preferred roll dimensions before installation.
Color: White Glossy
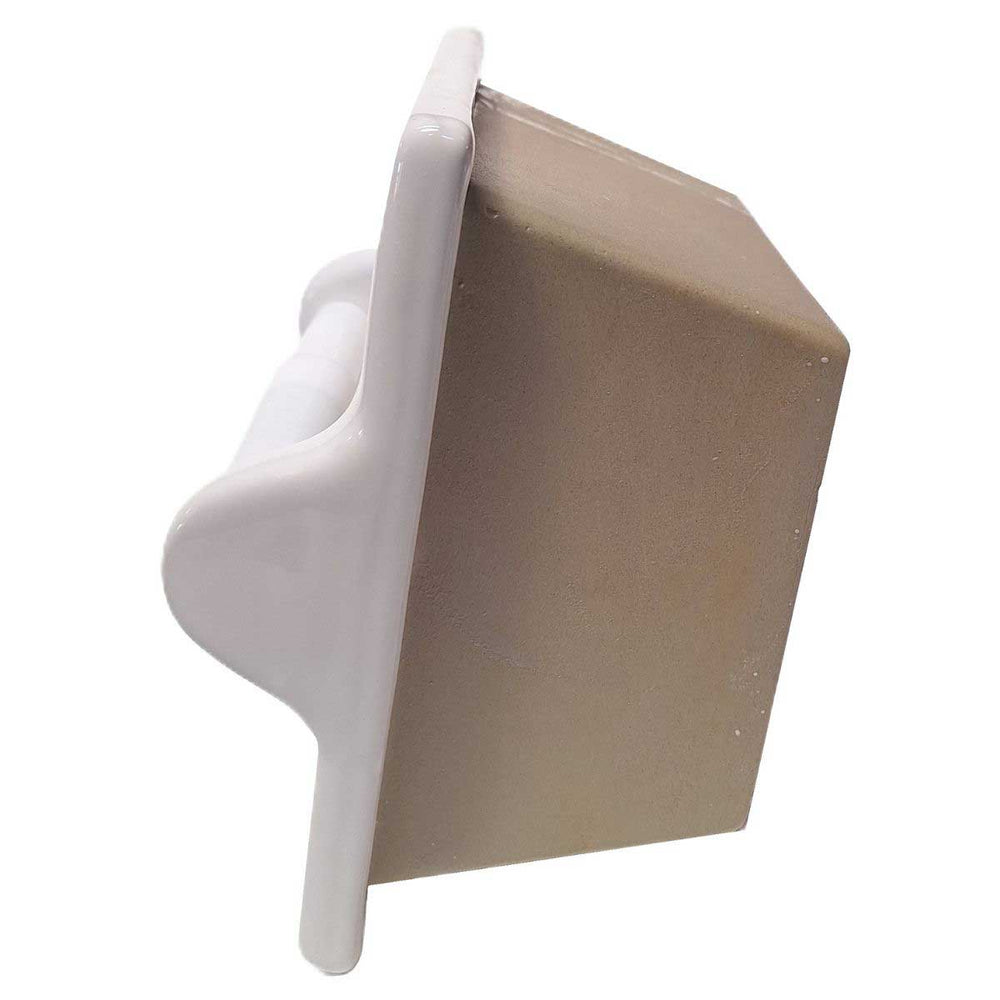
Dimensions:
Front: 7" x 7"
Back Insert: 5.5" x 4.25"
Side Projection: 4.75"
The SereneDrains recessed toilet paper holder offers a clean, built-in appearance while helping save space in bathrooms. Its extended depth is designed to better accommodate larger modern toilet paper rolls.
Features:
- Made from premium ceramic materials
- Glossy white finish for a clean and timeless look
- Extended recessed design fits many larger toilet paper rolls
- Ready for installation with no waterproofing required
- Ideal for compact bathrooms and built-in wall applications
- Easy to clean using standard all-purpose cleaners
- Compatible with a variety of bathroom styles and designs
- Simple installation process
Installation Instructions:
Step 1: Select the Installation Location
Choose a convenient and accessible location on the wall. Ensure there are no pipes, electrical wiring, or studs behind the selected area. Mark the outline using a pencil and level.
Step 2: Cut the Opening
Measure the recessed mounting section of the holder and transfer the dimensions to the wall, allowing approximately 1/8" clearance. Carefully cut the opening using an appropriate tile or drywall saw.
Step 3: Prepare the Surface
Remove any dust or debris from the opening. Test-fit the holder to confirm it sits flush against the wall surface.
Step 4: Install the Holder
Press the accessory firmly into the opening until it sits flush with the wall surface. Use a level to ensure proper alignment.
Step 5: Seal the Edges
Apply a clean bead of silicone sealant around the outer edges where the holder meets the tile or wall surface. Smooth the silicone for a clean finish and allow it to fully cure before use.
Step 6: Final Inspection
Confirm the holder is secure, level, and properly sealed. Clean the surface with a soft cloth after installation.
Shop Related Collections:
Shop Ceramic & Stone Bathroom Accessories
The installation methods shown above may also apply to similar recessed ceramic bathroom accessories and niches with comparable mounting backs.
Payment & Security
Payment methods
Your payment information is processed securely. We do not store credit card details nor have access to your credit card information.
