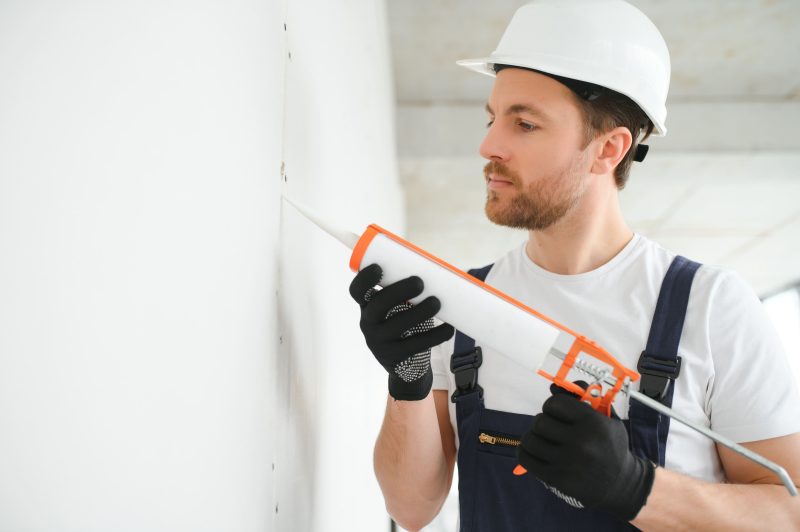
Maintaining a sparkling and inviting swimming pool goes beyond just skimming the surface and balancing the water. Over time, swimming pool tiles can become dull and stained due to the accumulation of calcium deposits, mineral buildup, and organic debris. These unsightly marks not only detract from the beauty of your pool but can also cause long-term damage if not properly addressed. Regular cleaning of your pool tiles is essential to preserve their appearance and prolong their lifespan.
This guide will walk you through the step-by-step process of how to clean tile in a swimming pool, using a variety of methods and materials that cater to different types of stains and buildups. Whether you prefer eco-friendly natural cleaners or more robust chemical solutions, you’ll find the right approach to keep your tiles looking pristine. With the right tools and techniques, you can restore the gleam to your swimming pool tiles and ensure that your pool remains a beautiful and safe place for everyone to enjoy.

Disclaimer
This article offers thorough cleaning instructions, but be aware that some processes and chemicals, like muriatic and sulfamic acid, can be hazardous. Always use caution, wear protective gear, and work in a well-ventilated area. If you’re unsure or encounter difficulties, seek professional help. Additionally, consult local authorities to ensure chemical use complies with regulations. Prioritize safety by taking these precautions and considering professional assistance when needed.
Understanding Pool Tile Stains and Buildup
Before diving into the cleaning process, it’s essential to understand the common types of stains and buildup that can occur on pool tiles:
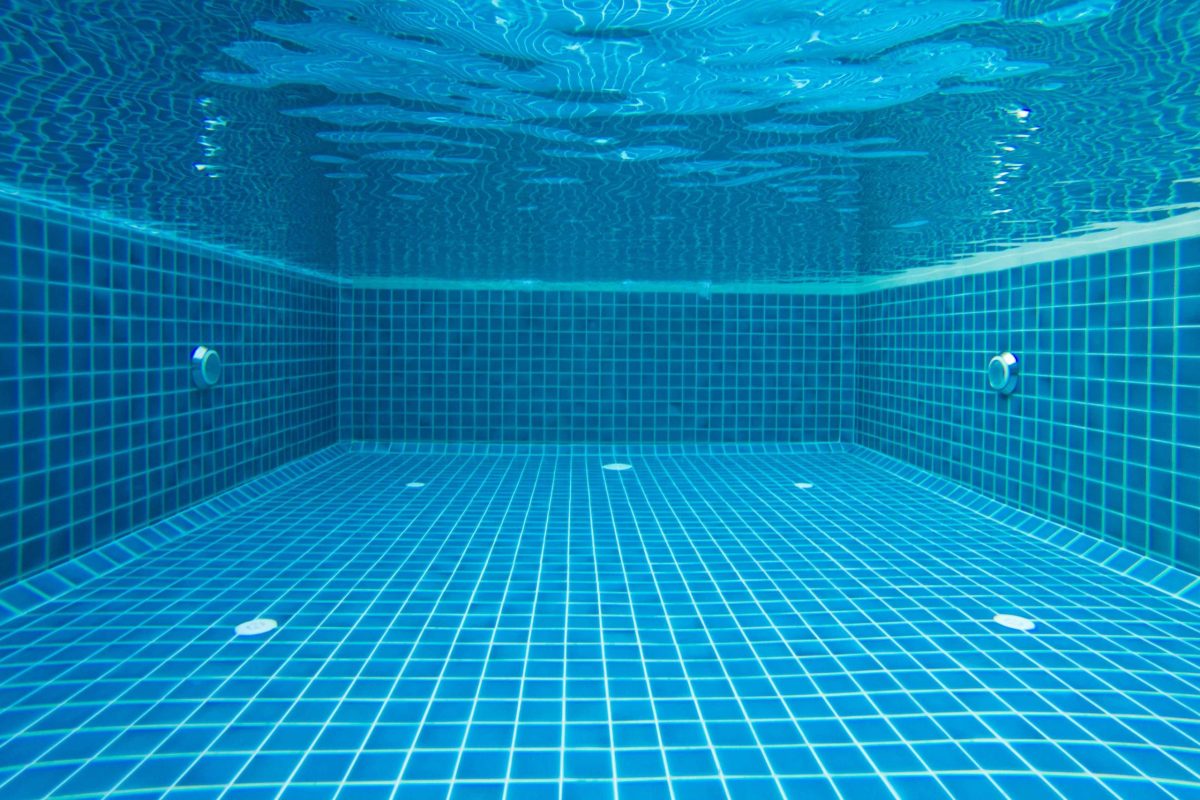
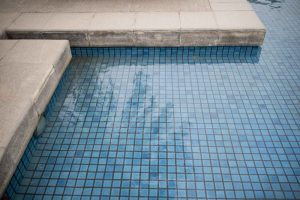
- Calcium Deposits: Calcium carbonate and calcium silicate are the most common types of calcium deposits found on pool tiles. These appear as white, crusty layers on the tile surface.
- Mineral Deposits: Minerals in the pool water, such as magnesium and iron, can leave unsightly stains on tiles.
- Organic Matter: Leaves, algae, and other organic debris can stain and dirty pool tiles over time.
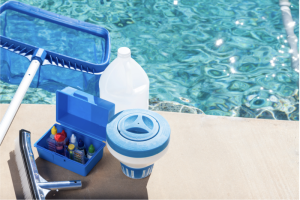
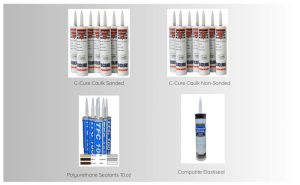
Tools and Materials You’ll Need
To effectively clean your pool tiles, gather the following tools and materials:
- Pumice Stone: Ideal for scrubbing away calcium deposits and stubborn stains.
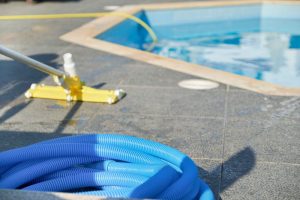
- Scrub Brush (Stiff-Bristled): A stiff-bristled brush is necessary for scrubbing the tiles effectively, especially in tough-to-reach areas.
- Muriatic Acid: A strong acid that can break down tough stains and buildup.
- Sulfamic Acid: A safer alternative to muriatic acid, effective for removing mineral deposits.
- Tile Cleaner: Available at most home improvement stores, these cleaners are specifically designed for pool tiles.
- Natural Cleaners: Baking soda and a quarter cup of dishwashing liquid can be used as gentler, eco-friendly cleaning options.
- Circular Motion: Using a circular motion when scrubbing ensures even cleaning and avoids damage to the tile surface.
Step-by-Step Guide to Cleaning Pool Tiles
1. Initial Rinse and Inspection
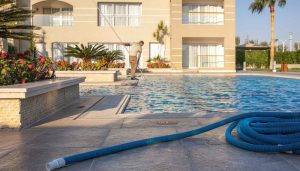
Start by lowering the water level in the pool so that the tiles are exposed. Use a hose to rinse off loose dirt and debris from the tile surface.
2. Choosing the Right Cleaner
- For Calcium Buildup and Mineral Deposits: If you notice white, crusty layers on your tiles, it’s likely calcium buildup. Use a pumice stone to scrub away these deposits. For tougher stains, apply muriatic acid or sulfamic acid to the affected areas. Always wear gloves and follow the manufacturer’s instructions when using these acids.
- For Organic Matter and Light Stains: Mix a quarter cup of dishwashing liquid with warm water and use a stiff-bristled scrub brush to clean the tiles. Natural cleaners like baking soda can also be effective for this type of cleaning.
3. Scrubbing the Tiles
Apply your chosen cleaner to the tile surface and begin scrubbing in a circular motion. This technique helps to lift stains evenly without scratching the tile. Pay special attention to any stubborn spots, and reapply cleaner as necessary.
4. Using Natural Cleaners
For those who prefer eco-friendly options, baking soda is an excellent choice. Create a paste by mixing baking soda with water, then apply it to the tiles using a stiff-bristled scrub brush. Scrub the tiles in a circular motion until the stains lift.
5. Cleaning Glass Tiles
If your pool has glass tiles, you’ll need to be more delicate to avoid scratching. Use a softer brush or sponge, and avoid abrasive cleaners. A tile cleaner specifically designed for glass is your best option here.
6. Final Rinse and Inspection
After scrubbing, thoroughly rinse the tiles with clean water to remove any remaining cleaner and debris. Inspect the tiles to ensure all stains and buildup have been removed. If necessary, repeat the cleaning process on any stubborn spots.
Preventing Future Buildup
Regular pool maintenance is key to preventing future calcium deposits and mineral buildup. Here are some tips:
- Monitor Pool Water Chemistry: Keep your pool water balanced by regularly testing and adjusting the pH and calcium hardness levels.
- Regular Scrubbing: Incorporate regular tile scrubbing into your pool maintenance routine to prevent buildup.
- Use a Tile Sealant: Consider applying a tile sealant to protect the tiles from future stains and buildup.
Cleaning pool tiles is an essential part of pool maintenance that should not be overlooked. Whether you’re dealing with calcium carbonate deposits, mineral deposits, or organic matter, the right tools and techniques will help you clean the tile effectively. By following this guide and using products available at home improvement stores, you can keep your pool tiles looking pristine and extend the life of your swimming pool.
Maintaining a clean pool is not just about aesthetics—it’s also about preserving the longevity of your pool and ensuring a safe and enjoyable swimming environment.