Ceramic Soap Dish Almond Matte Thin Set Installation Holder Shower Wall Mount Tray
Couldn't load pickup availability
Delivery and Shipping
Delivery and Shipping
- Orders are shipped via USPS, UPS, or FedEx.
- Shipping time up to 5 business days. Weekends not included.
- Express shipping options available.
- Same-day shipping cut-off time 4:00 PM PST for most items.
- For oversized shipments that require freight delivery, our team will contact you.

Ceramic Soap Dish Almond Matte Thin Set Installation Holder Shower ...
Description
Description
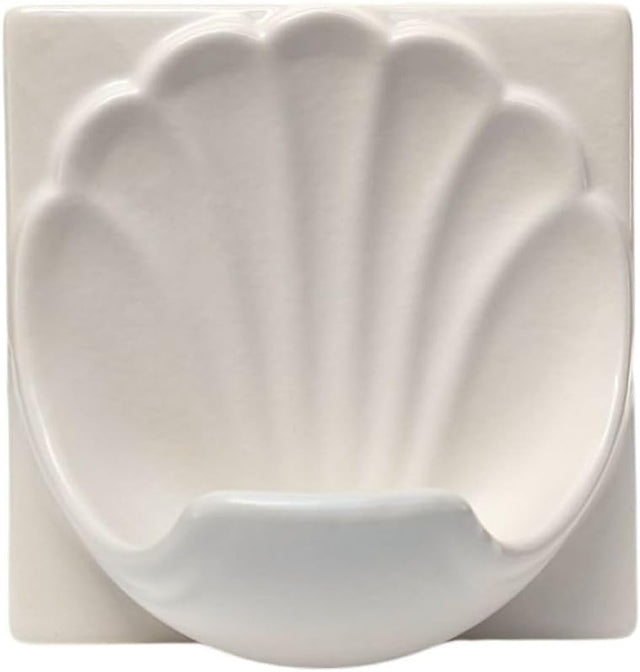
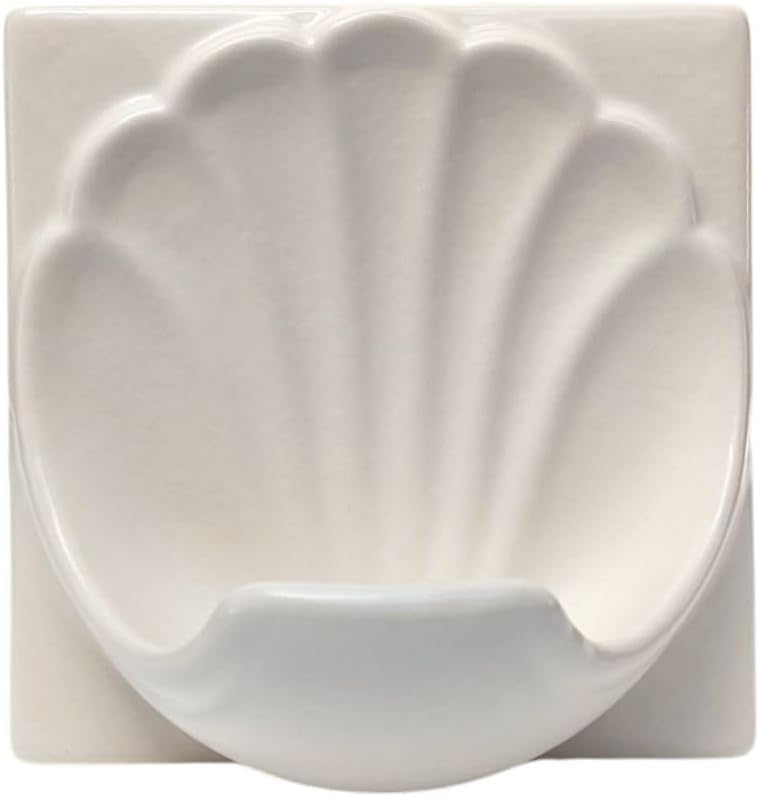
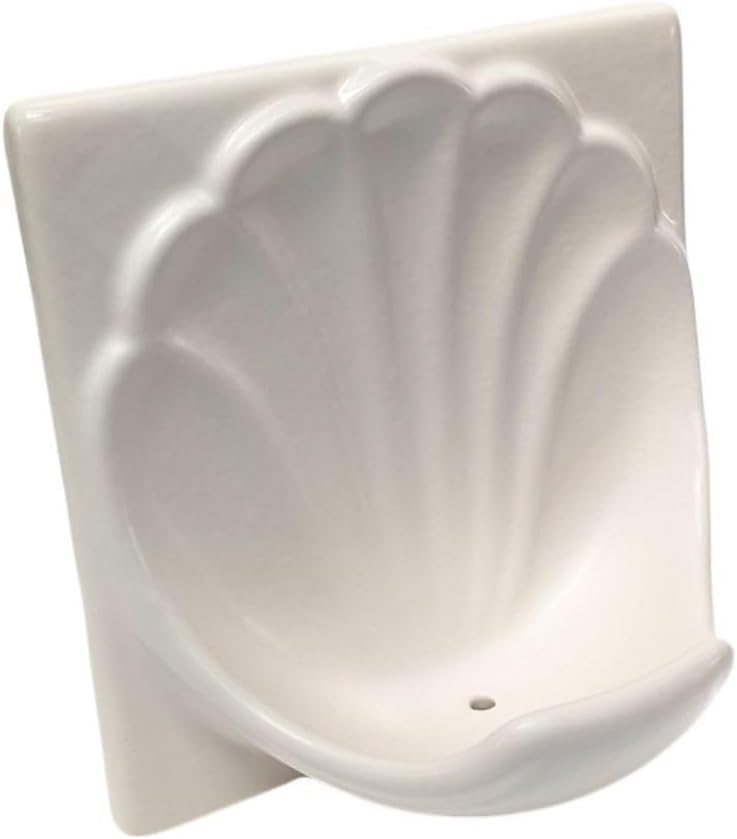
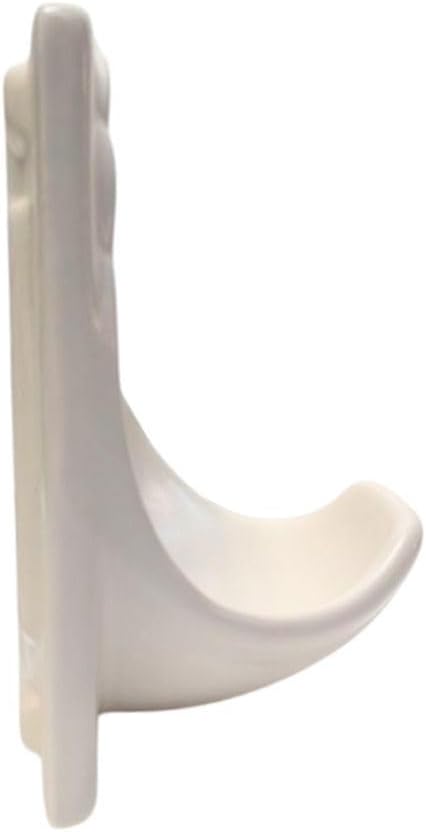
Ceramic Soap Dish - Almond Matte - Wall Mounted Thin set Installation
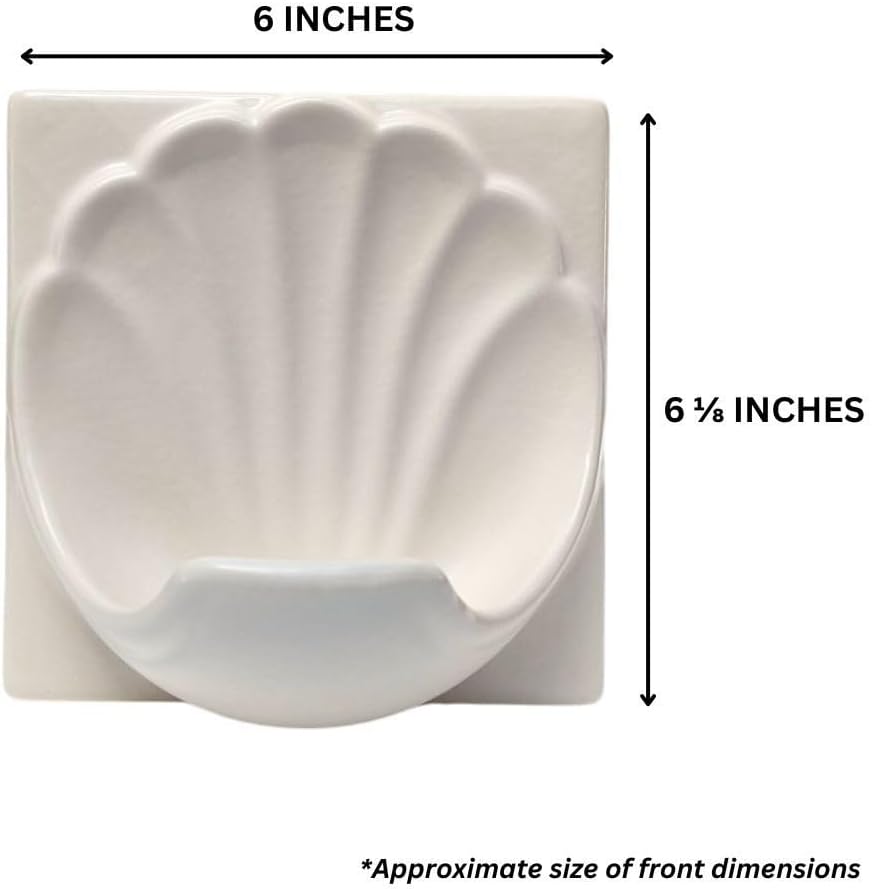
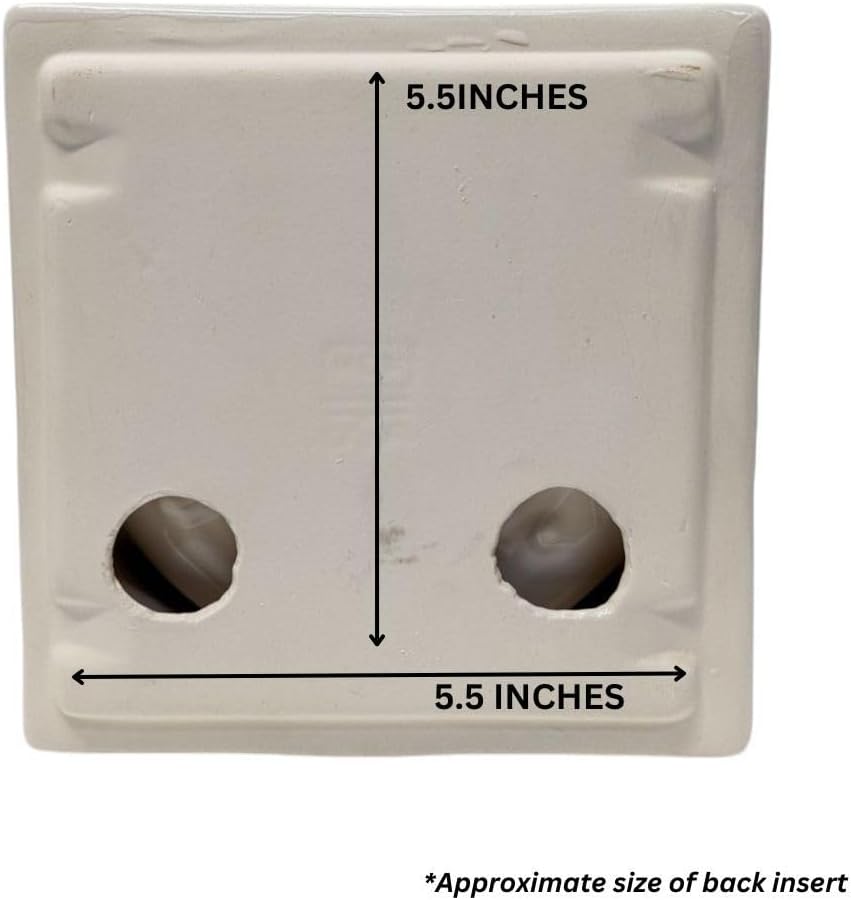
Dimensions
Front: 6"x6.13"
Back Insert: 5.5"x5.5"
The soap dish is made of Premium ceramic materials.
The soap holder is ready for installation, with no need to waterproof.
For cleaning of the bar soap holder use only all purpose cleaners.
The shower soap holder in wall is perfect for compact bathrooms and a sleek, built-in look.
Easy Installation - complete the installation of your soap holder shower with a few easy steps.
Installation Steps
Installing a bathroom soap dish using thin set mortar is a common method, especially when integrating it into tiled walls. Here's a step-by-step guide to assist you:
1. Determine the Installation Location:
Identify the desired position on your wall, ensuring it's at a comfortable height and within easy reach. For recessed holders, this typically involves cutting an opening in the drywall or similar surface.
2. Prepare the Wall Surface:
If installing into drywall, cut an opening that matches the holder's specifications. Ensure the cutout area is free from debris and dust.
3. Apply Thin set Mortar:
Using a notched trowel, apply the mortar evenly to the back of the soap dish.
4. Install the Holder:
Press the holder firmly into the prepared wall opening, ensuring it aligns correctly with surrounding tiles. Hold it in place for a few moments to allow the mortar to set slightly.
5. Allow for Curing:
Let the thin set mortar cure as per the manufacturer's recommended time, typically 24 hours.
6. Finish Up:
Once the mortar has cured, apply grout around the edges of the holder to seal any gaps and provide a finished look. Clean any excess grout or mortar from the holder and surrounding tiles.
Installation and Helpful Resources
- How to install Ceramic Soap Shampoo Dish with tile surrounding
- Installation of a ceramic Soap Shampoo Dish without tile surrounding
- Shop Ceramic & Stone Bathroom Accessories
Shop Related Collections
The above instruction call for Soap Dish or Toilet Paper Holder but can work for most bathroom accessories with similar backing as this Soap Shampoo corner Shelf
Payment & Security
Payment methods
Your payment information is processed securely. We do not store credit card details nor have access to your credit card information.